How to build your own dome port for half-over-half-under pictures
If you ever fancied taking nice half-over-half-under pictures, here is a great guide on how you can build your own dome port for a budget of around 25$! Best of all, this guide is not restricted to a particular camera model but teaches you the basics of how to design a similar port for your own camera model.
The key to a great half-half shots is the size of your dome (the bigger the better) and also the width of the lens you are shooting (the wider the better).
Small domes keep the wave line too close to your lens and will appear blurred and short.
You don’t even need to own an underwater housing for your camera since your cam will be encased in the dome port you build. However your camera must be able to be remote controlled – either through an app or a camera specific wireless remote control.
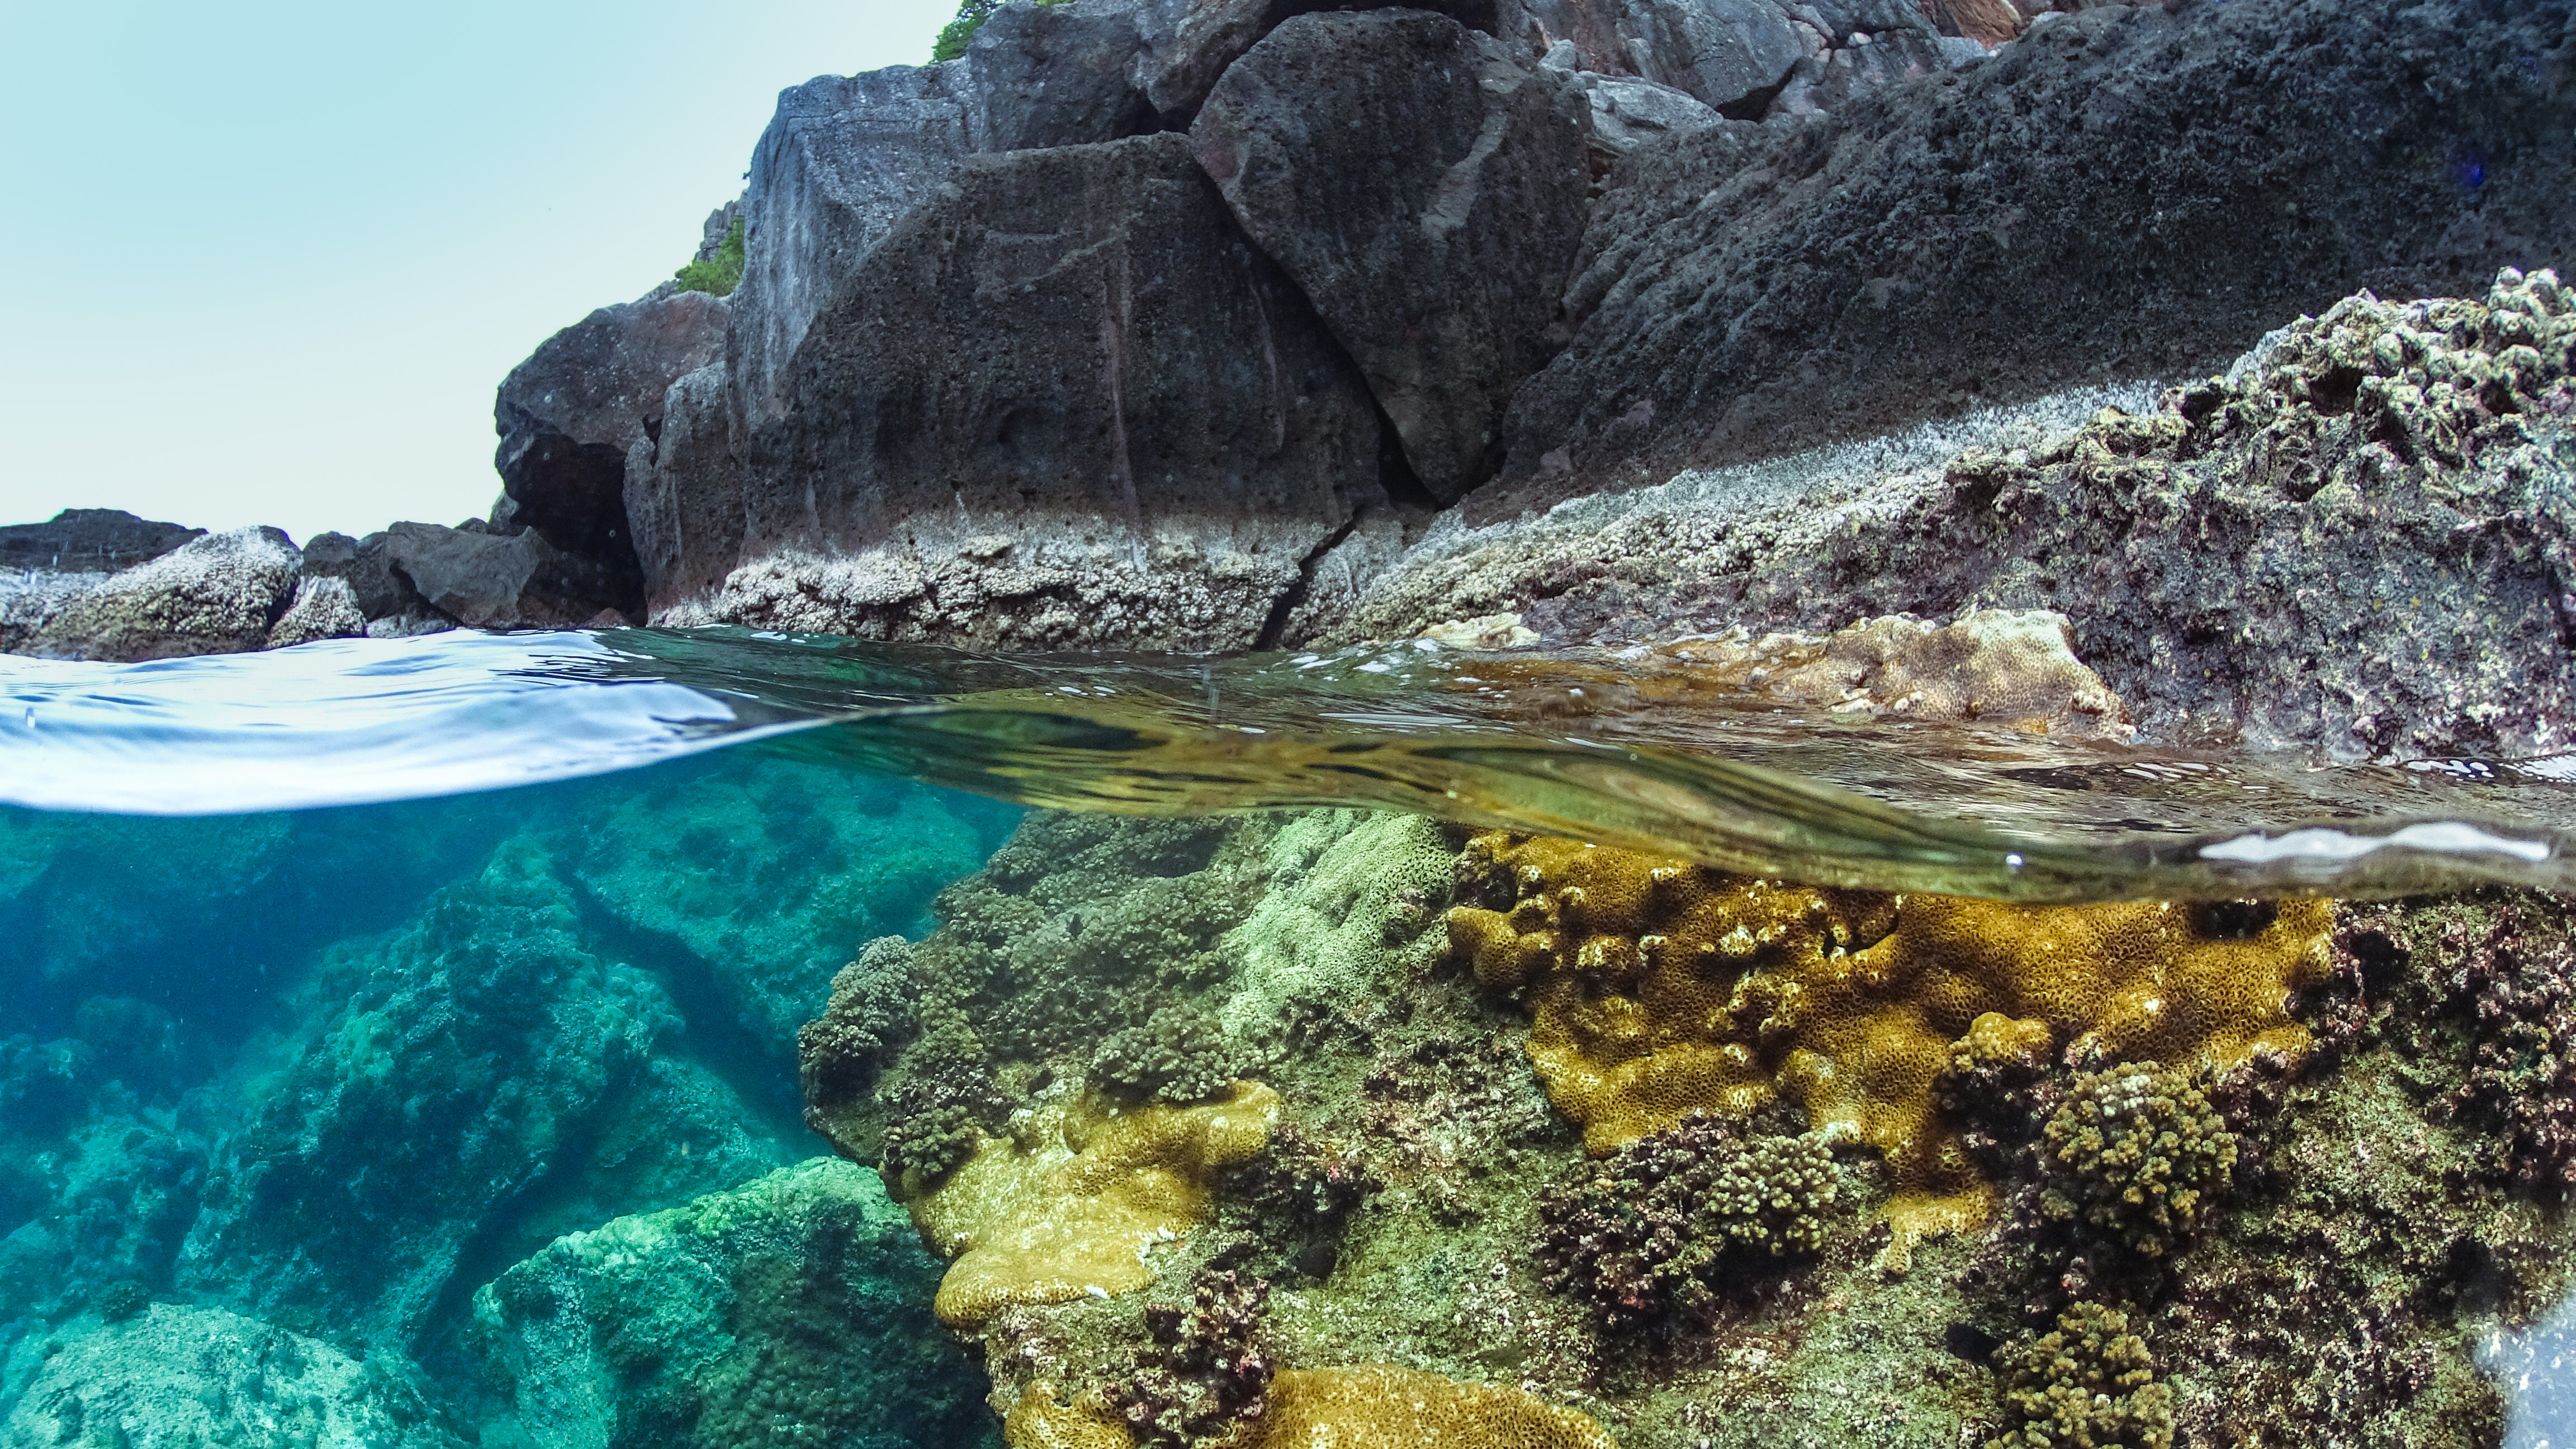
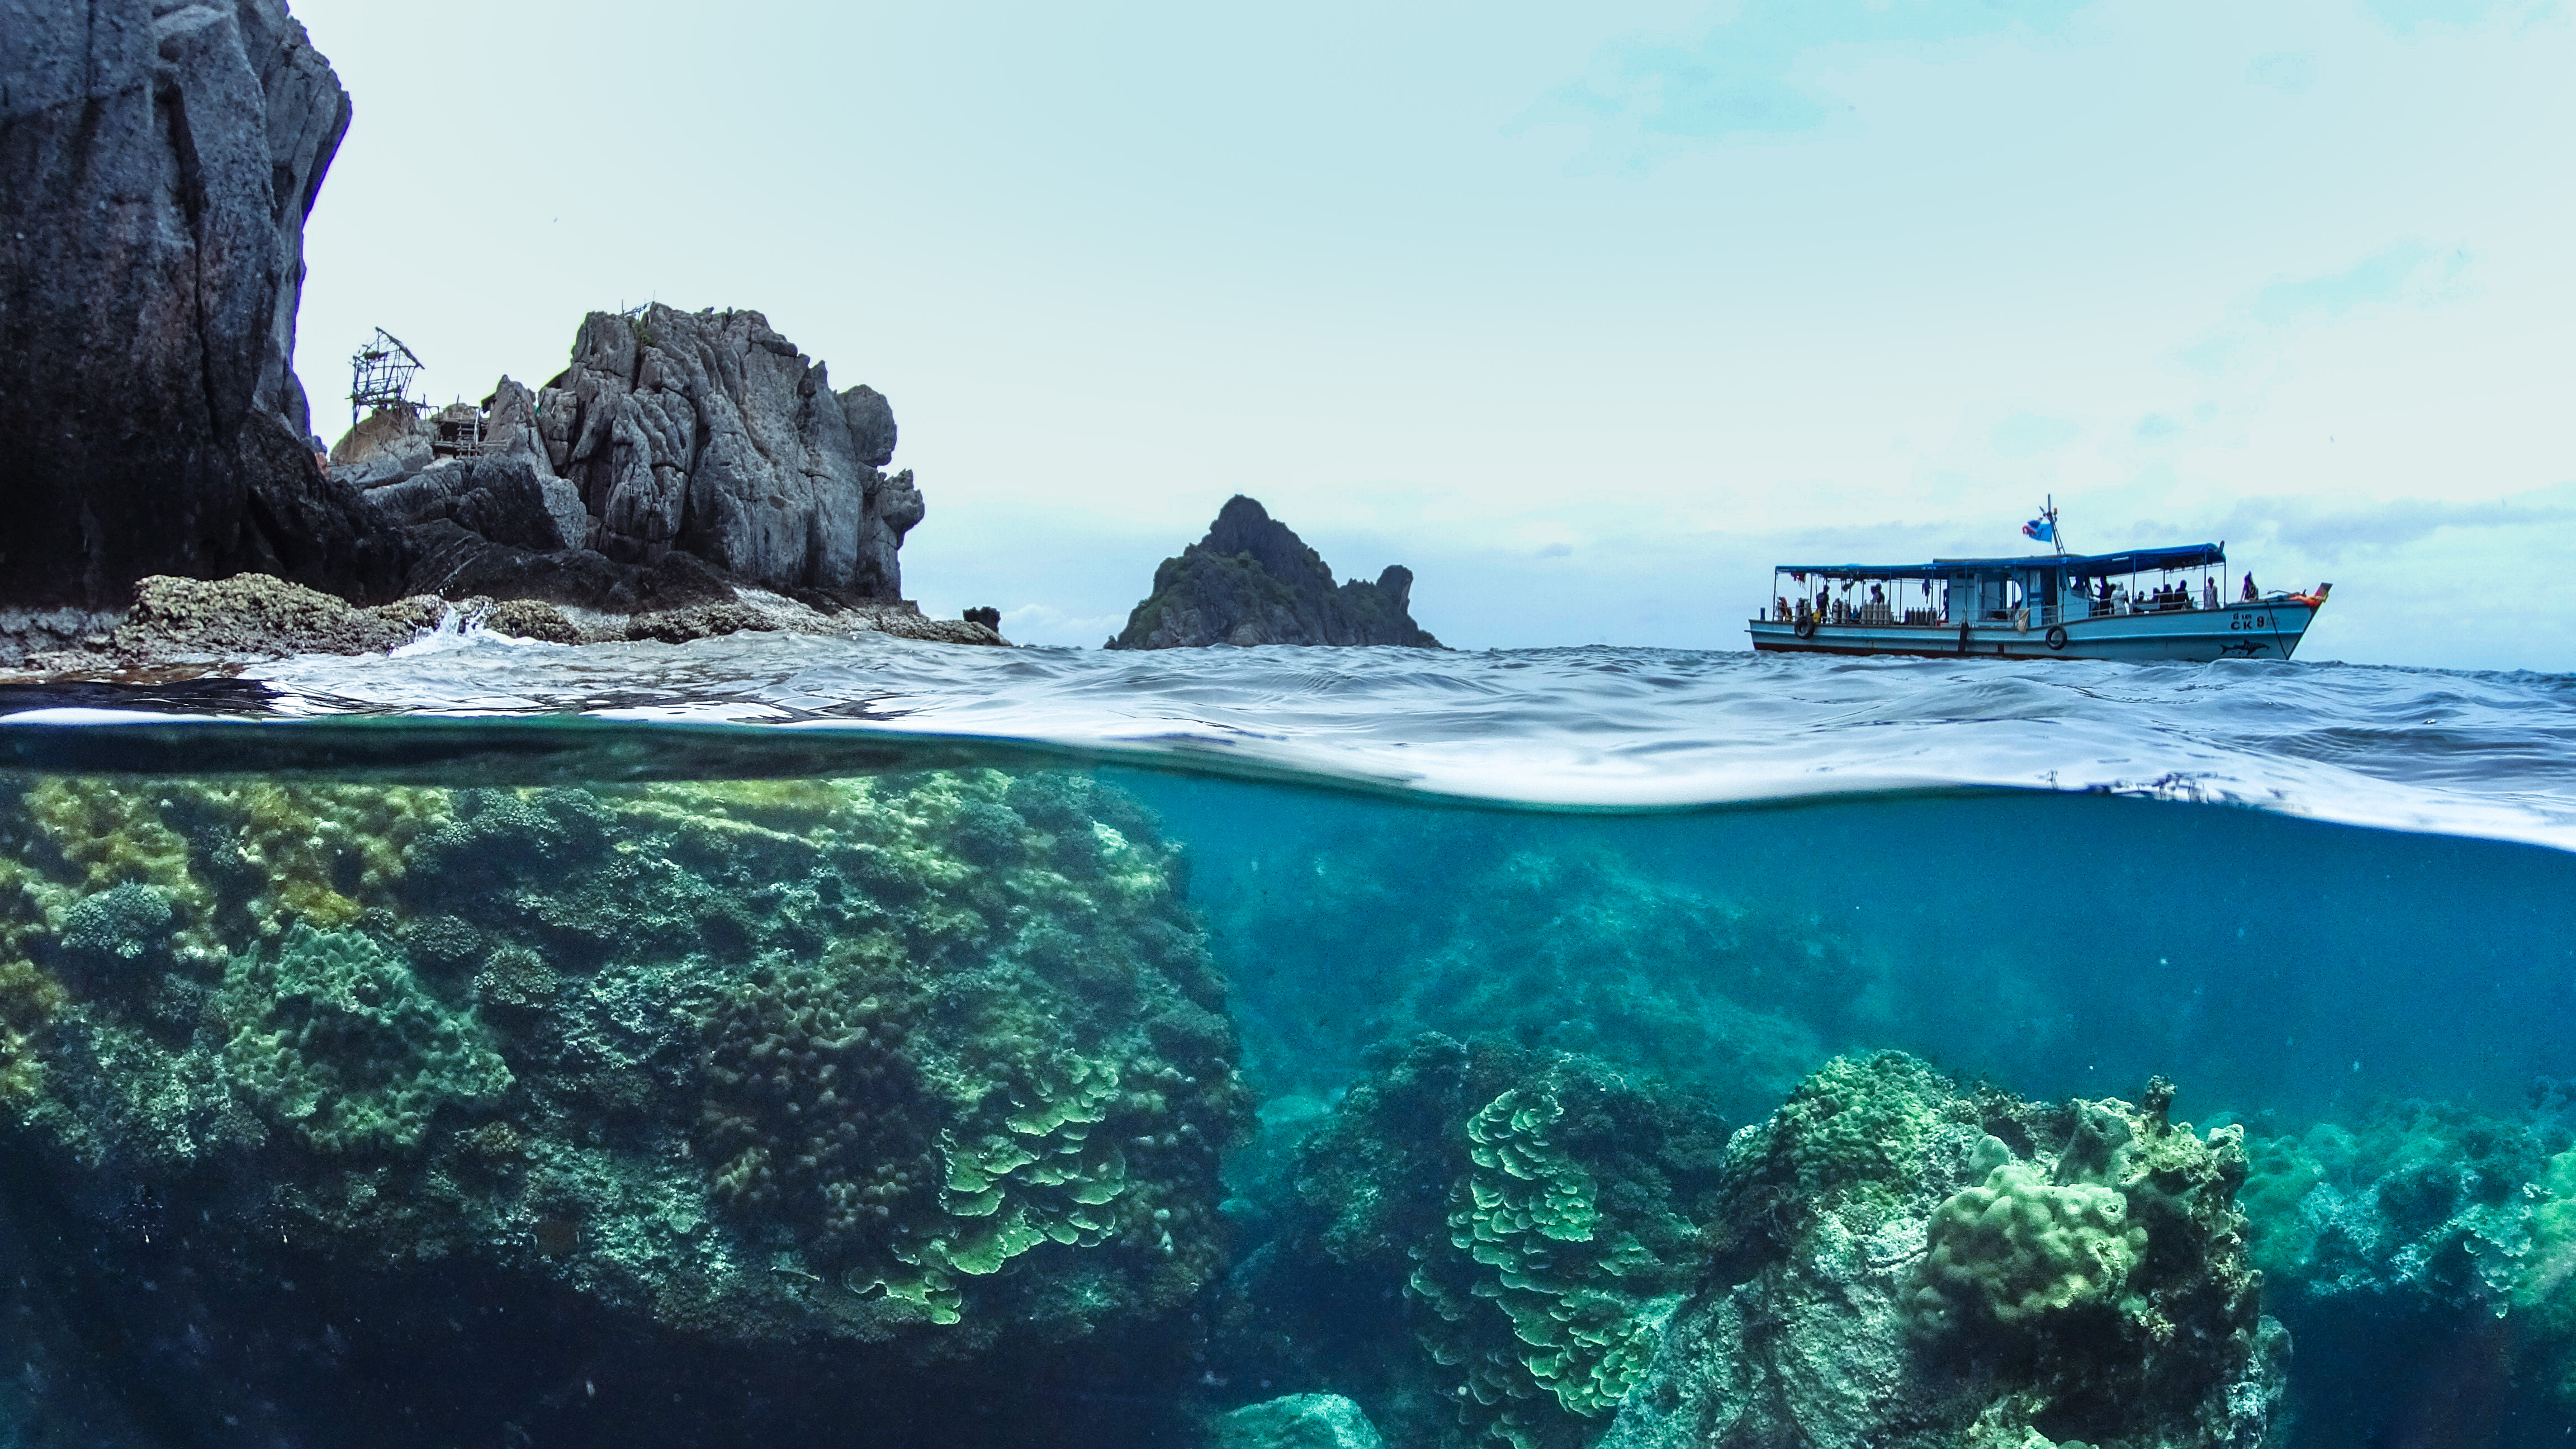
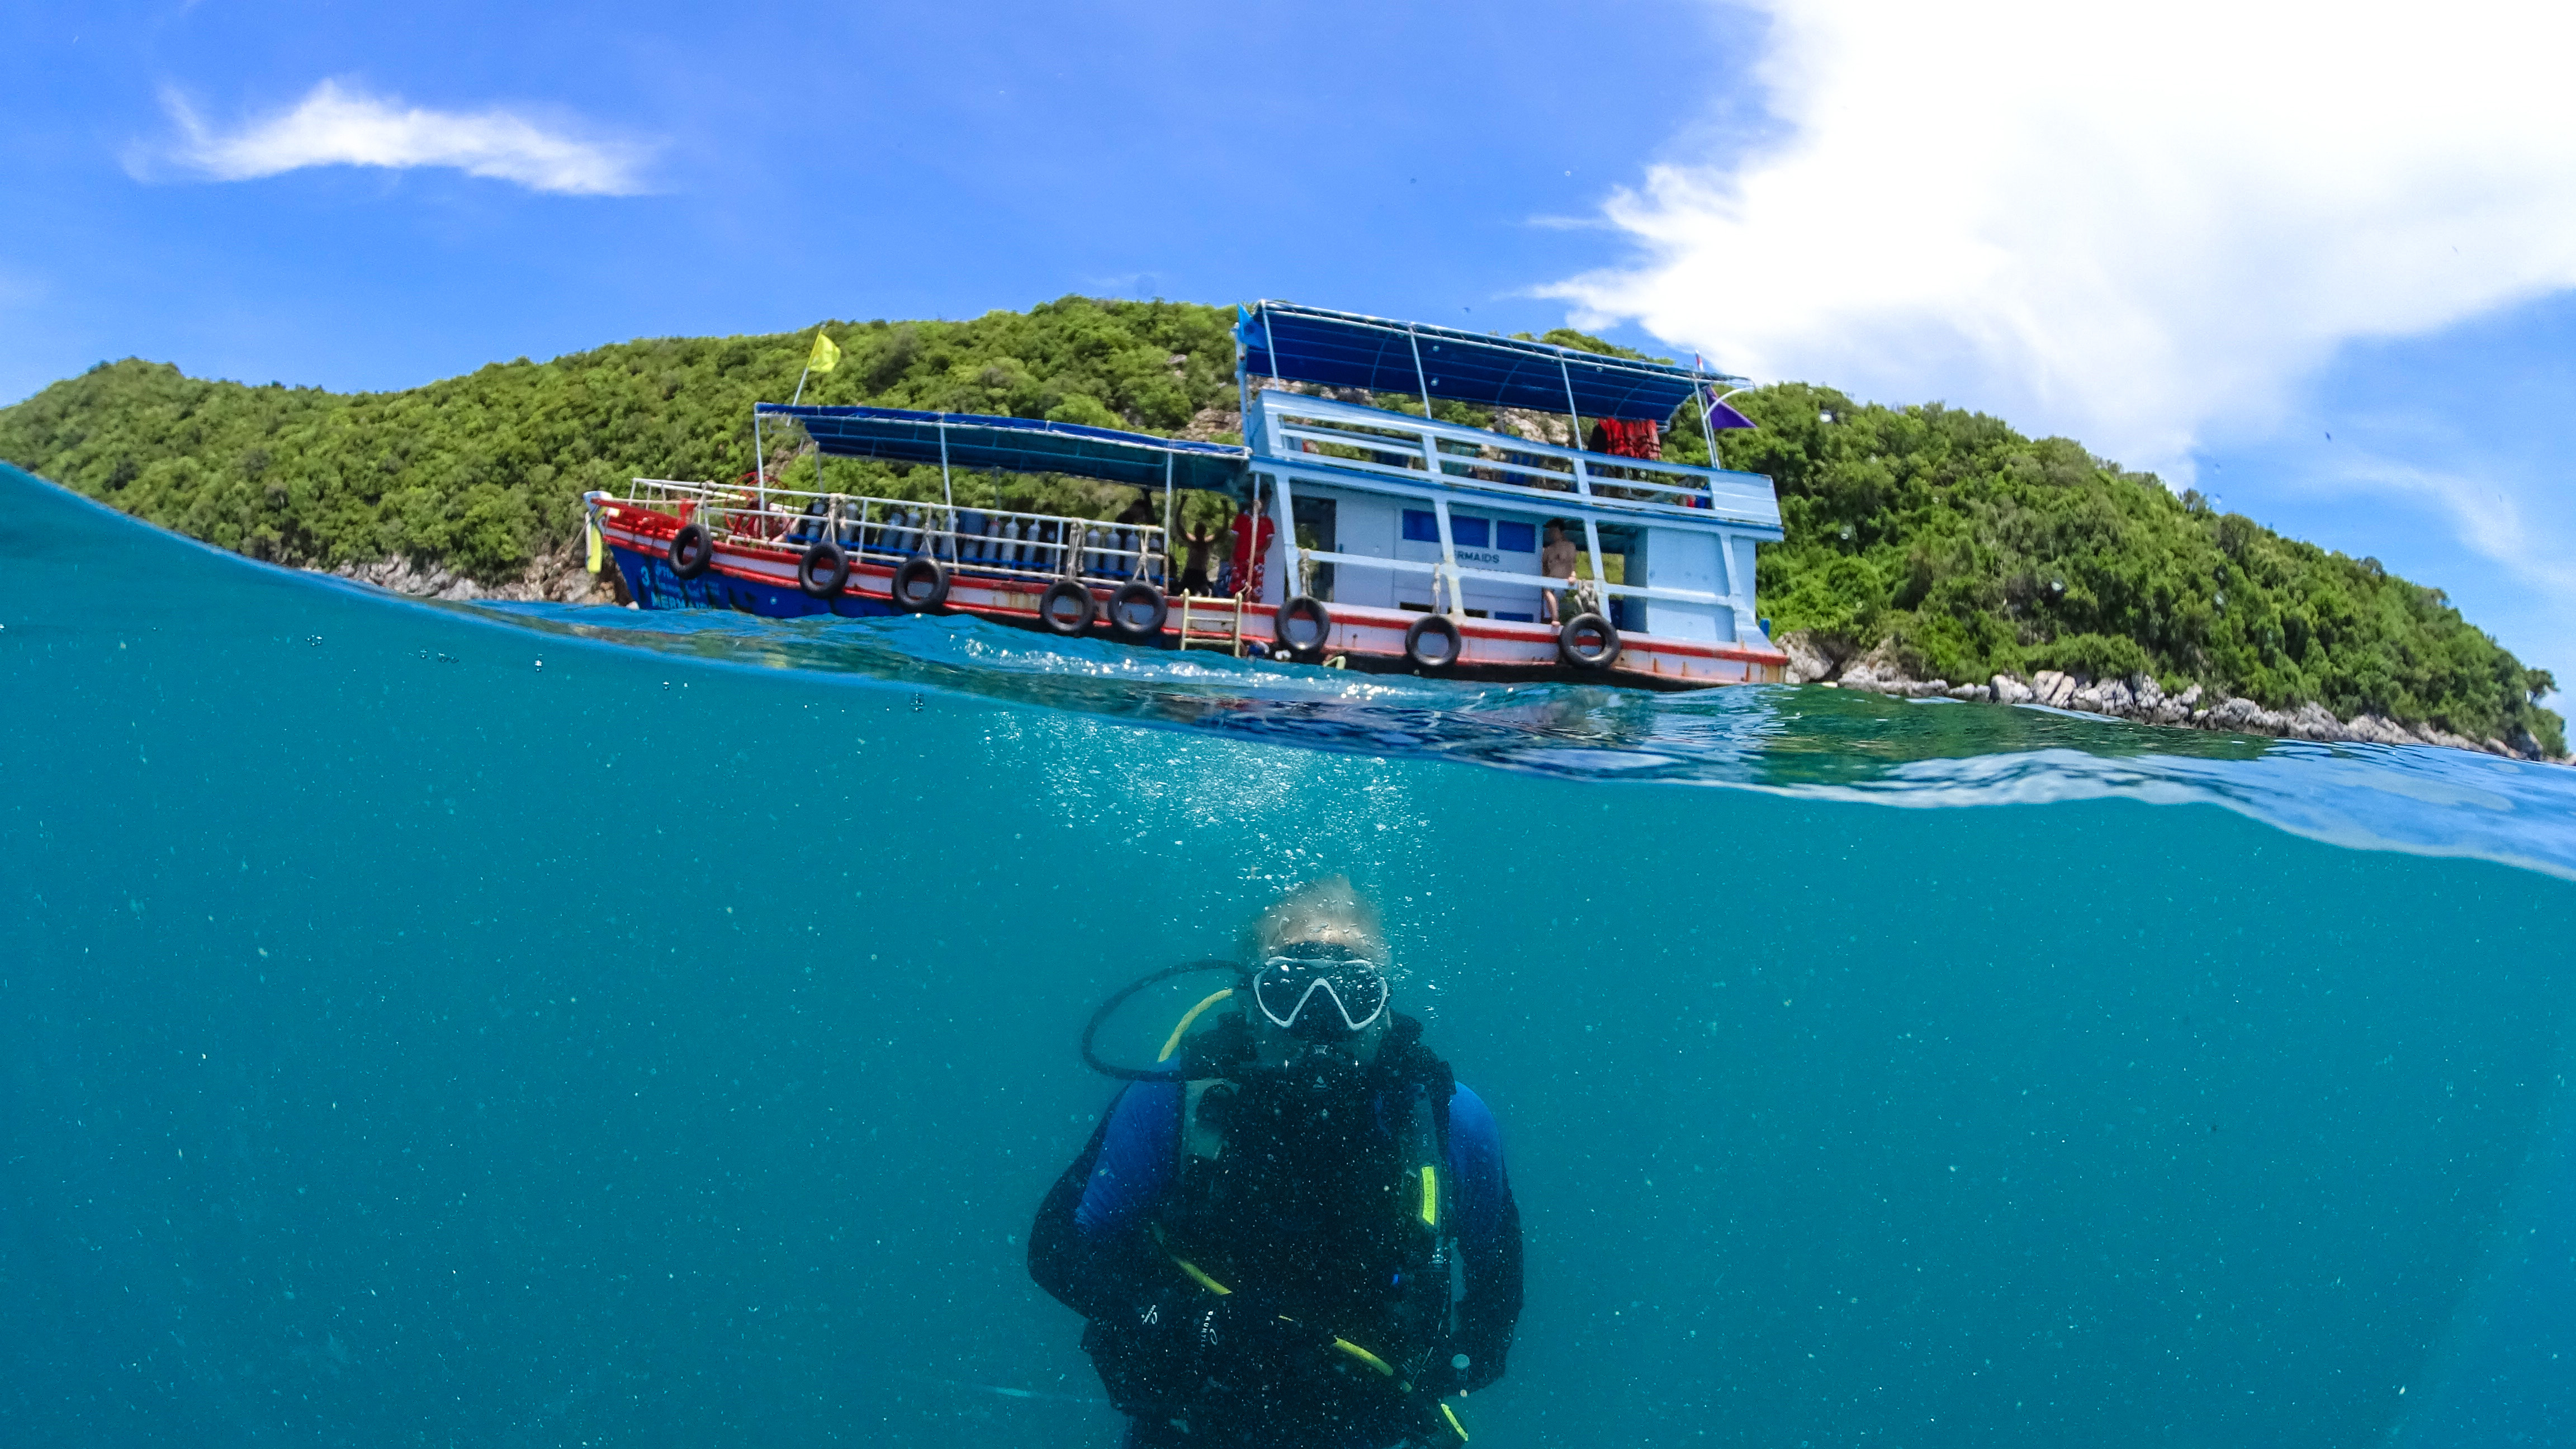
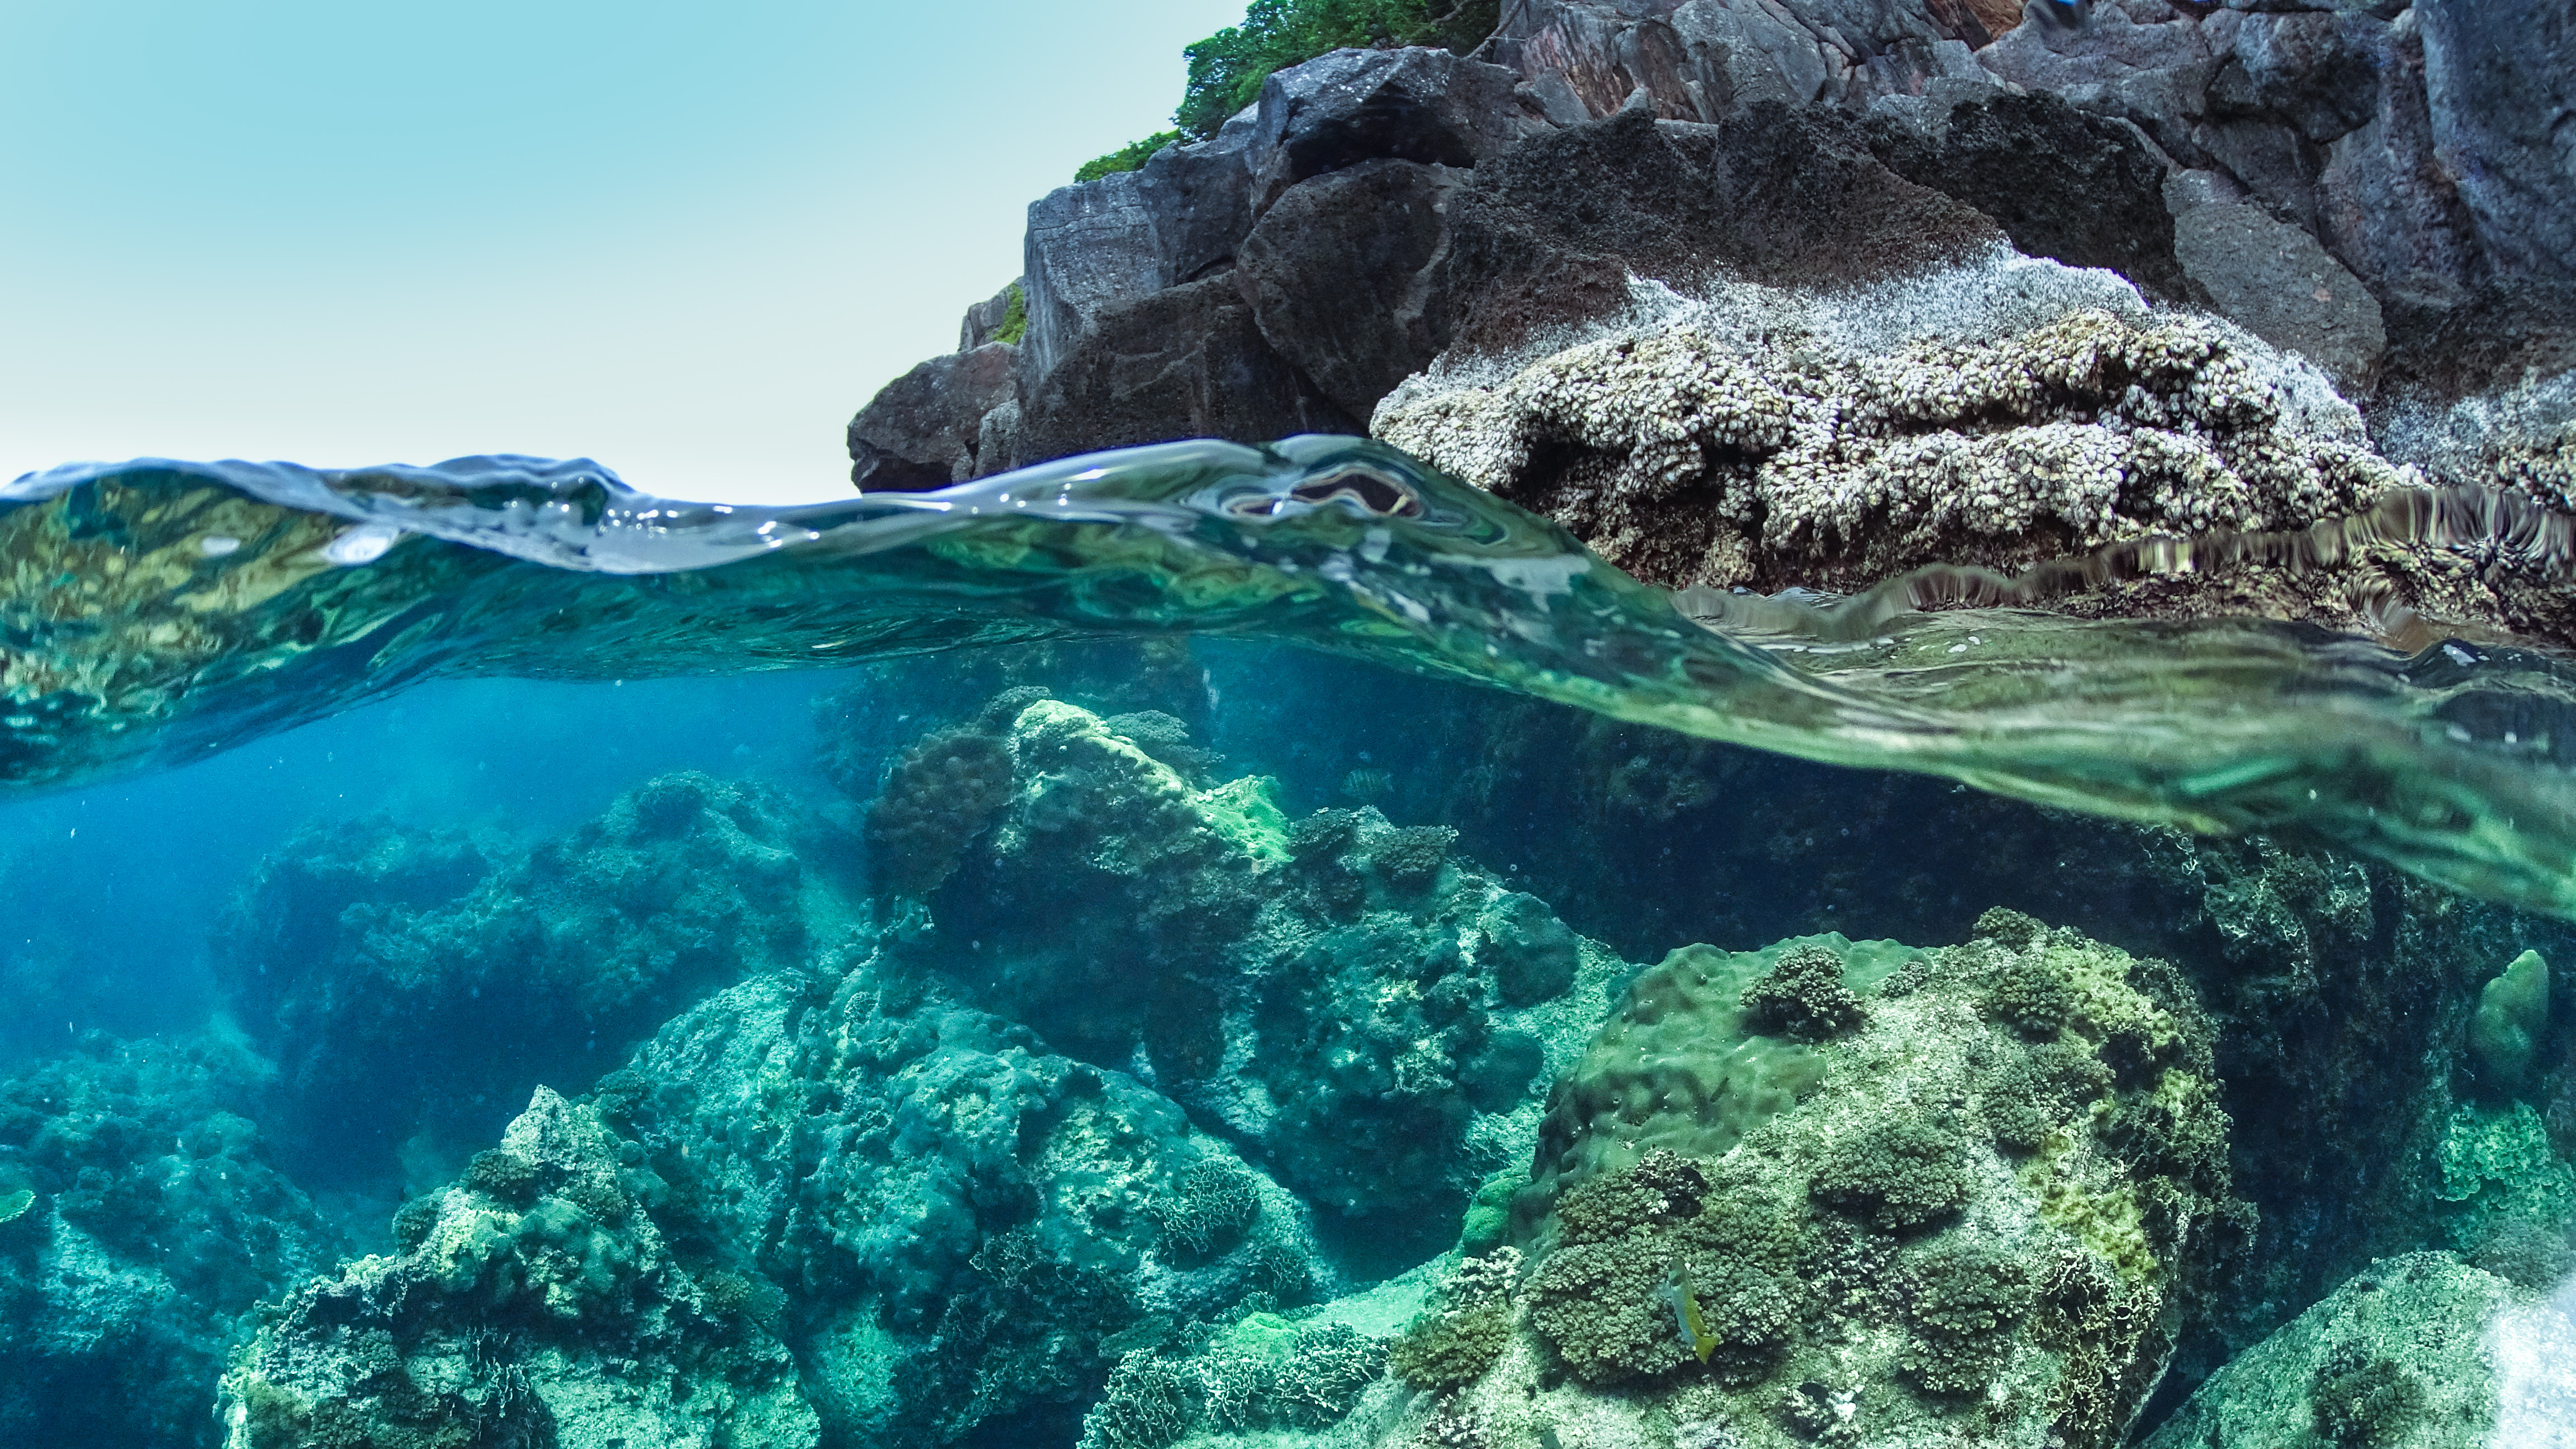
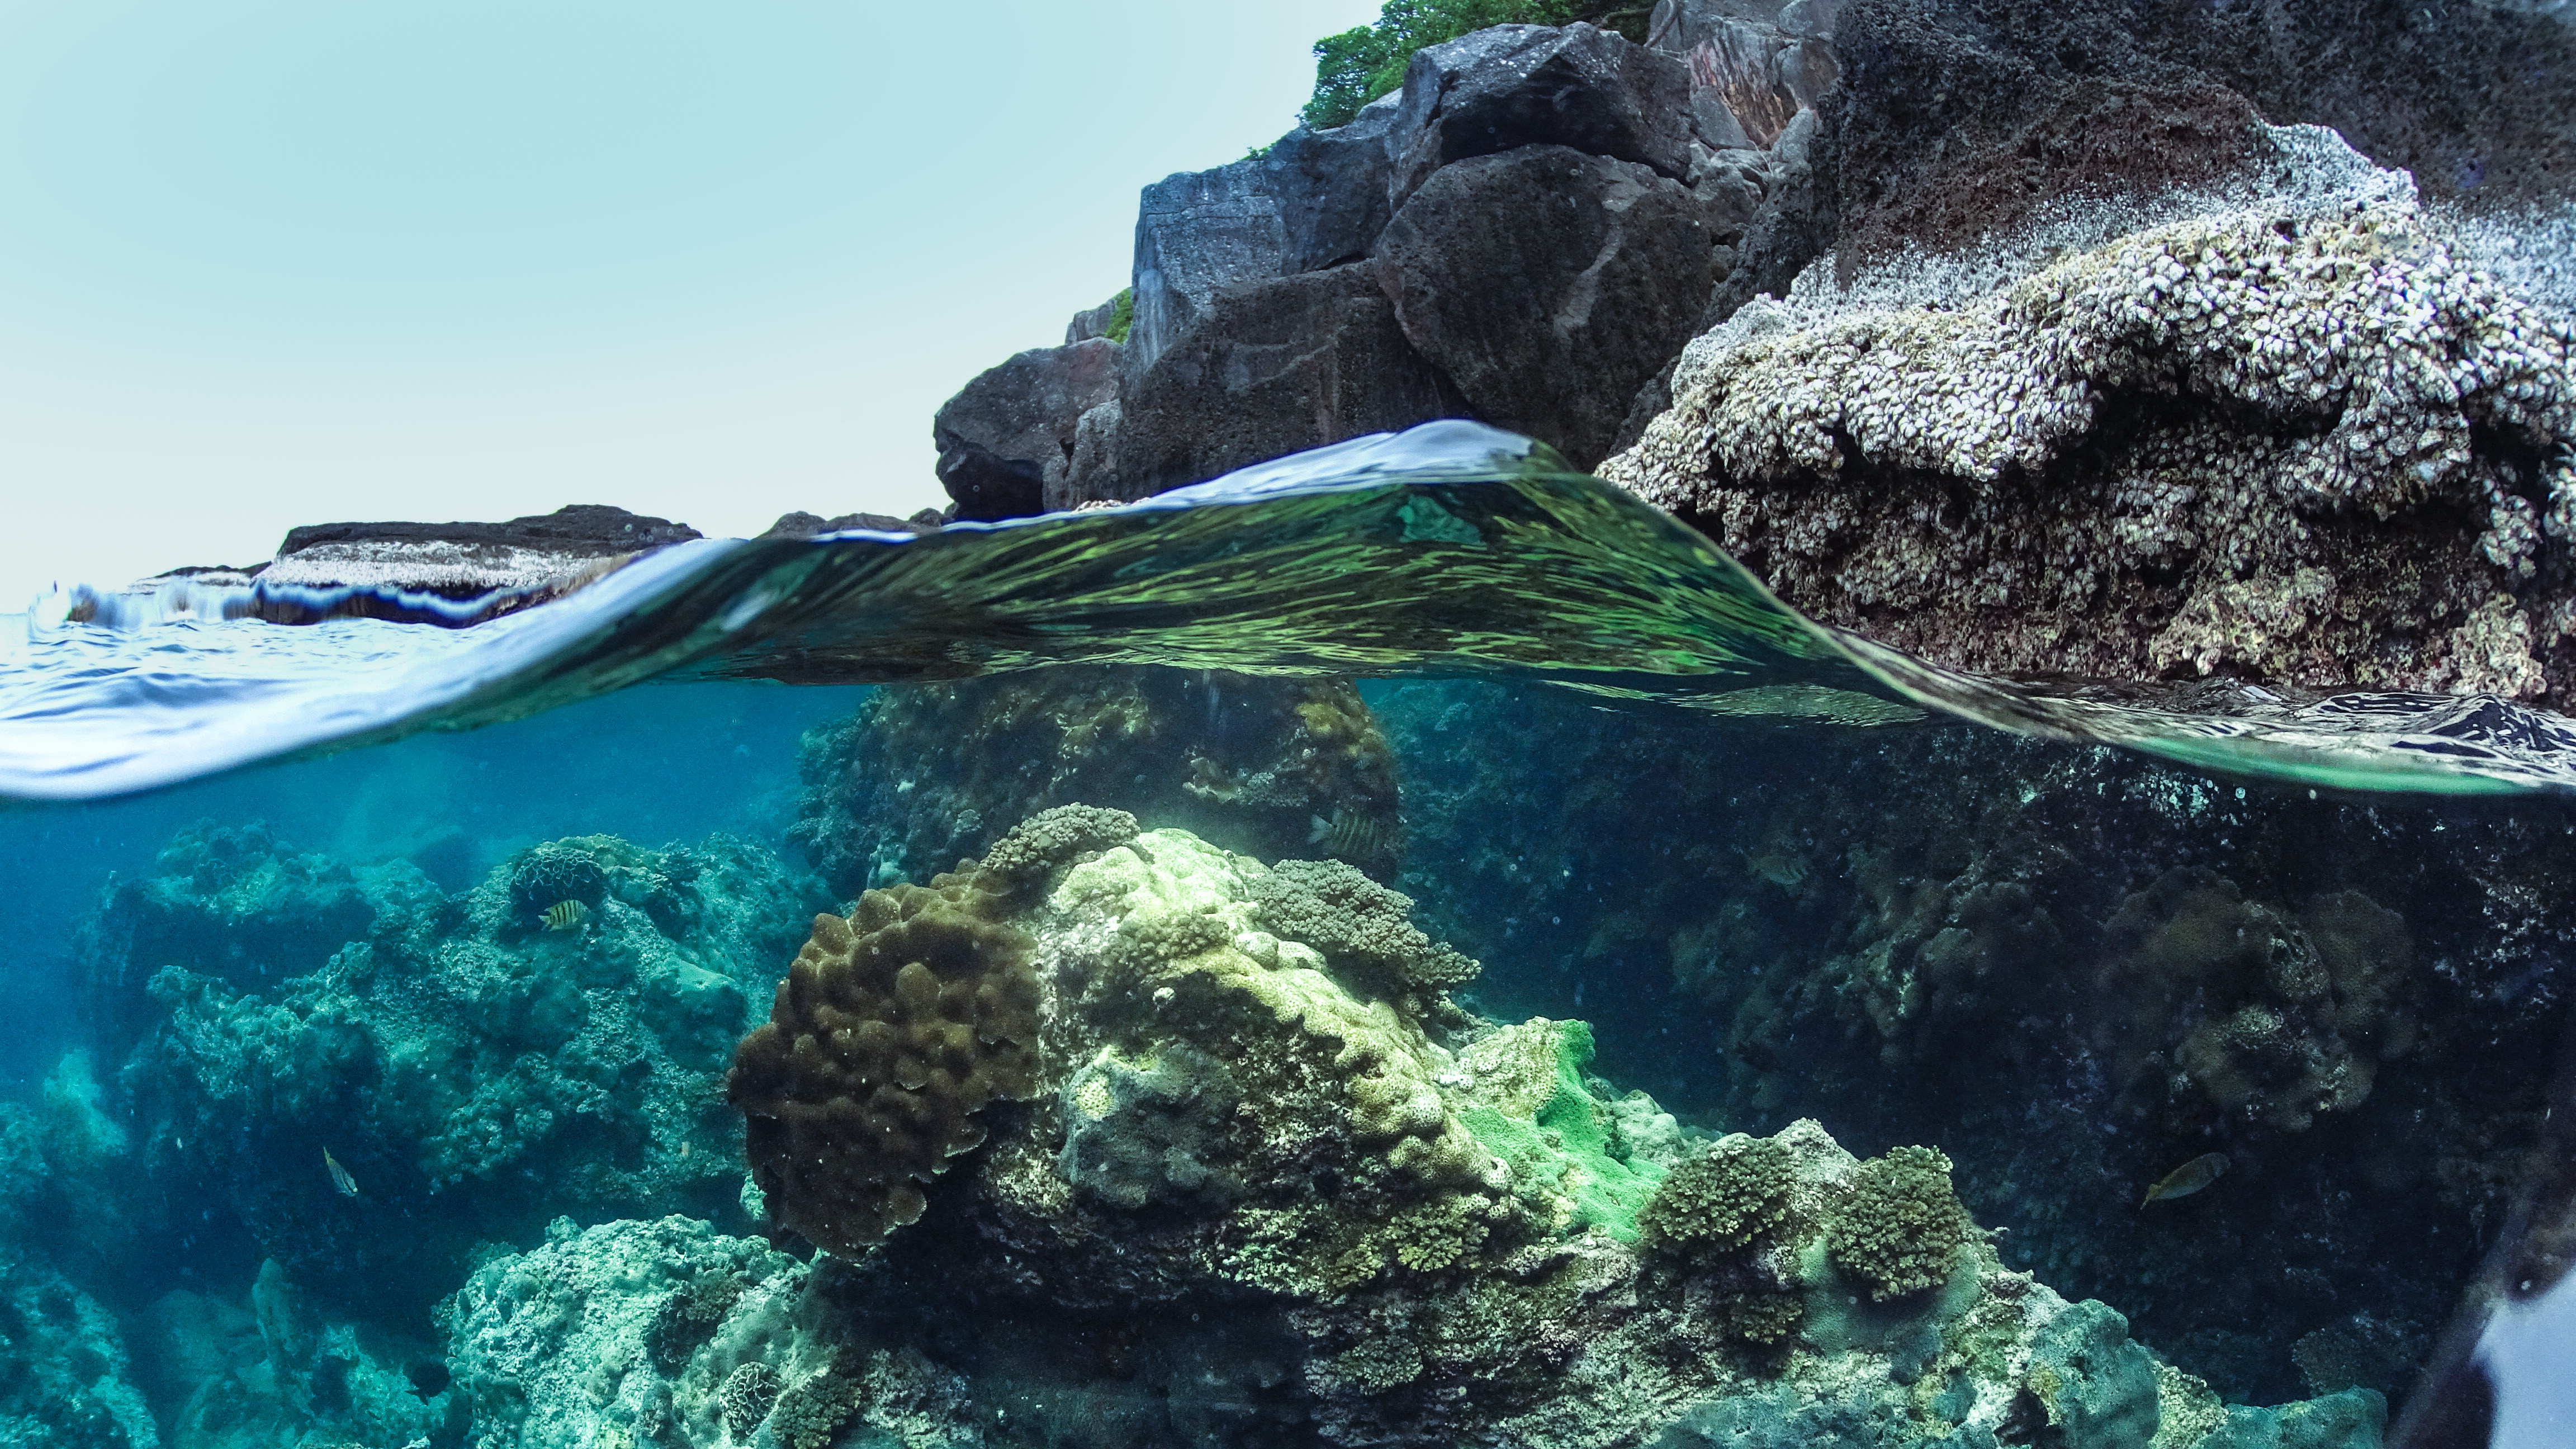
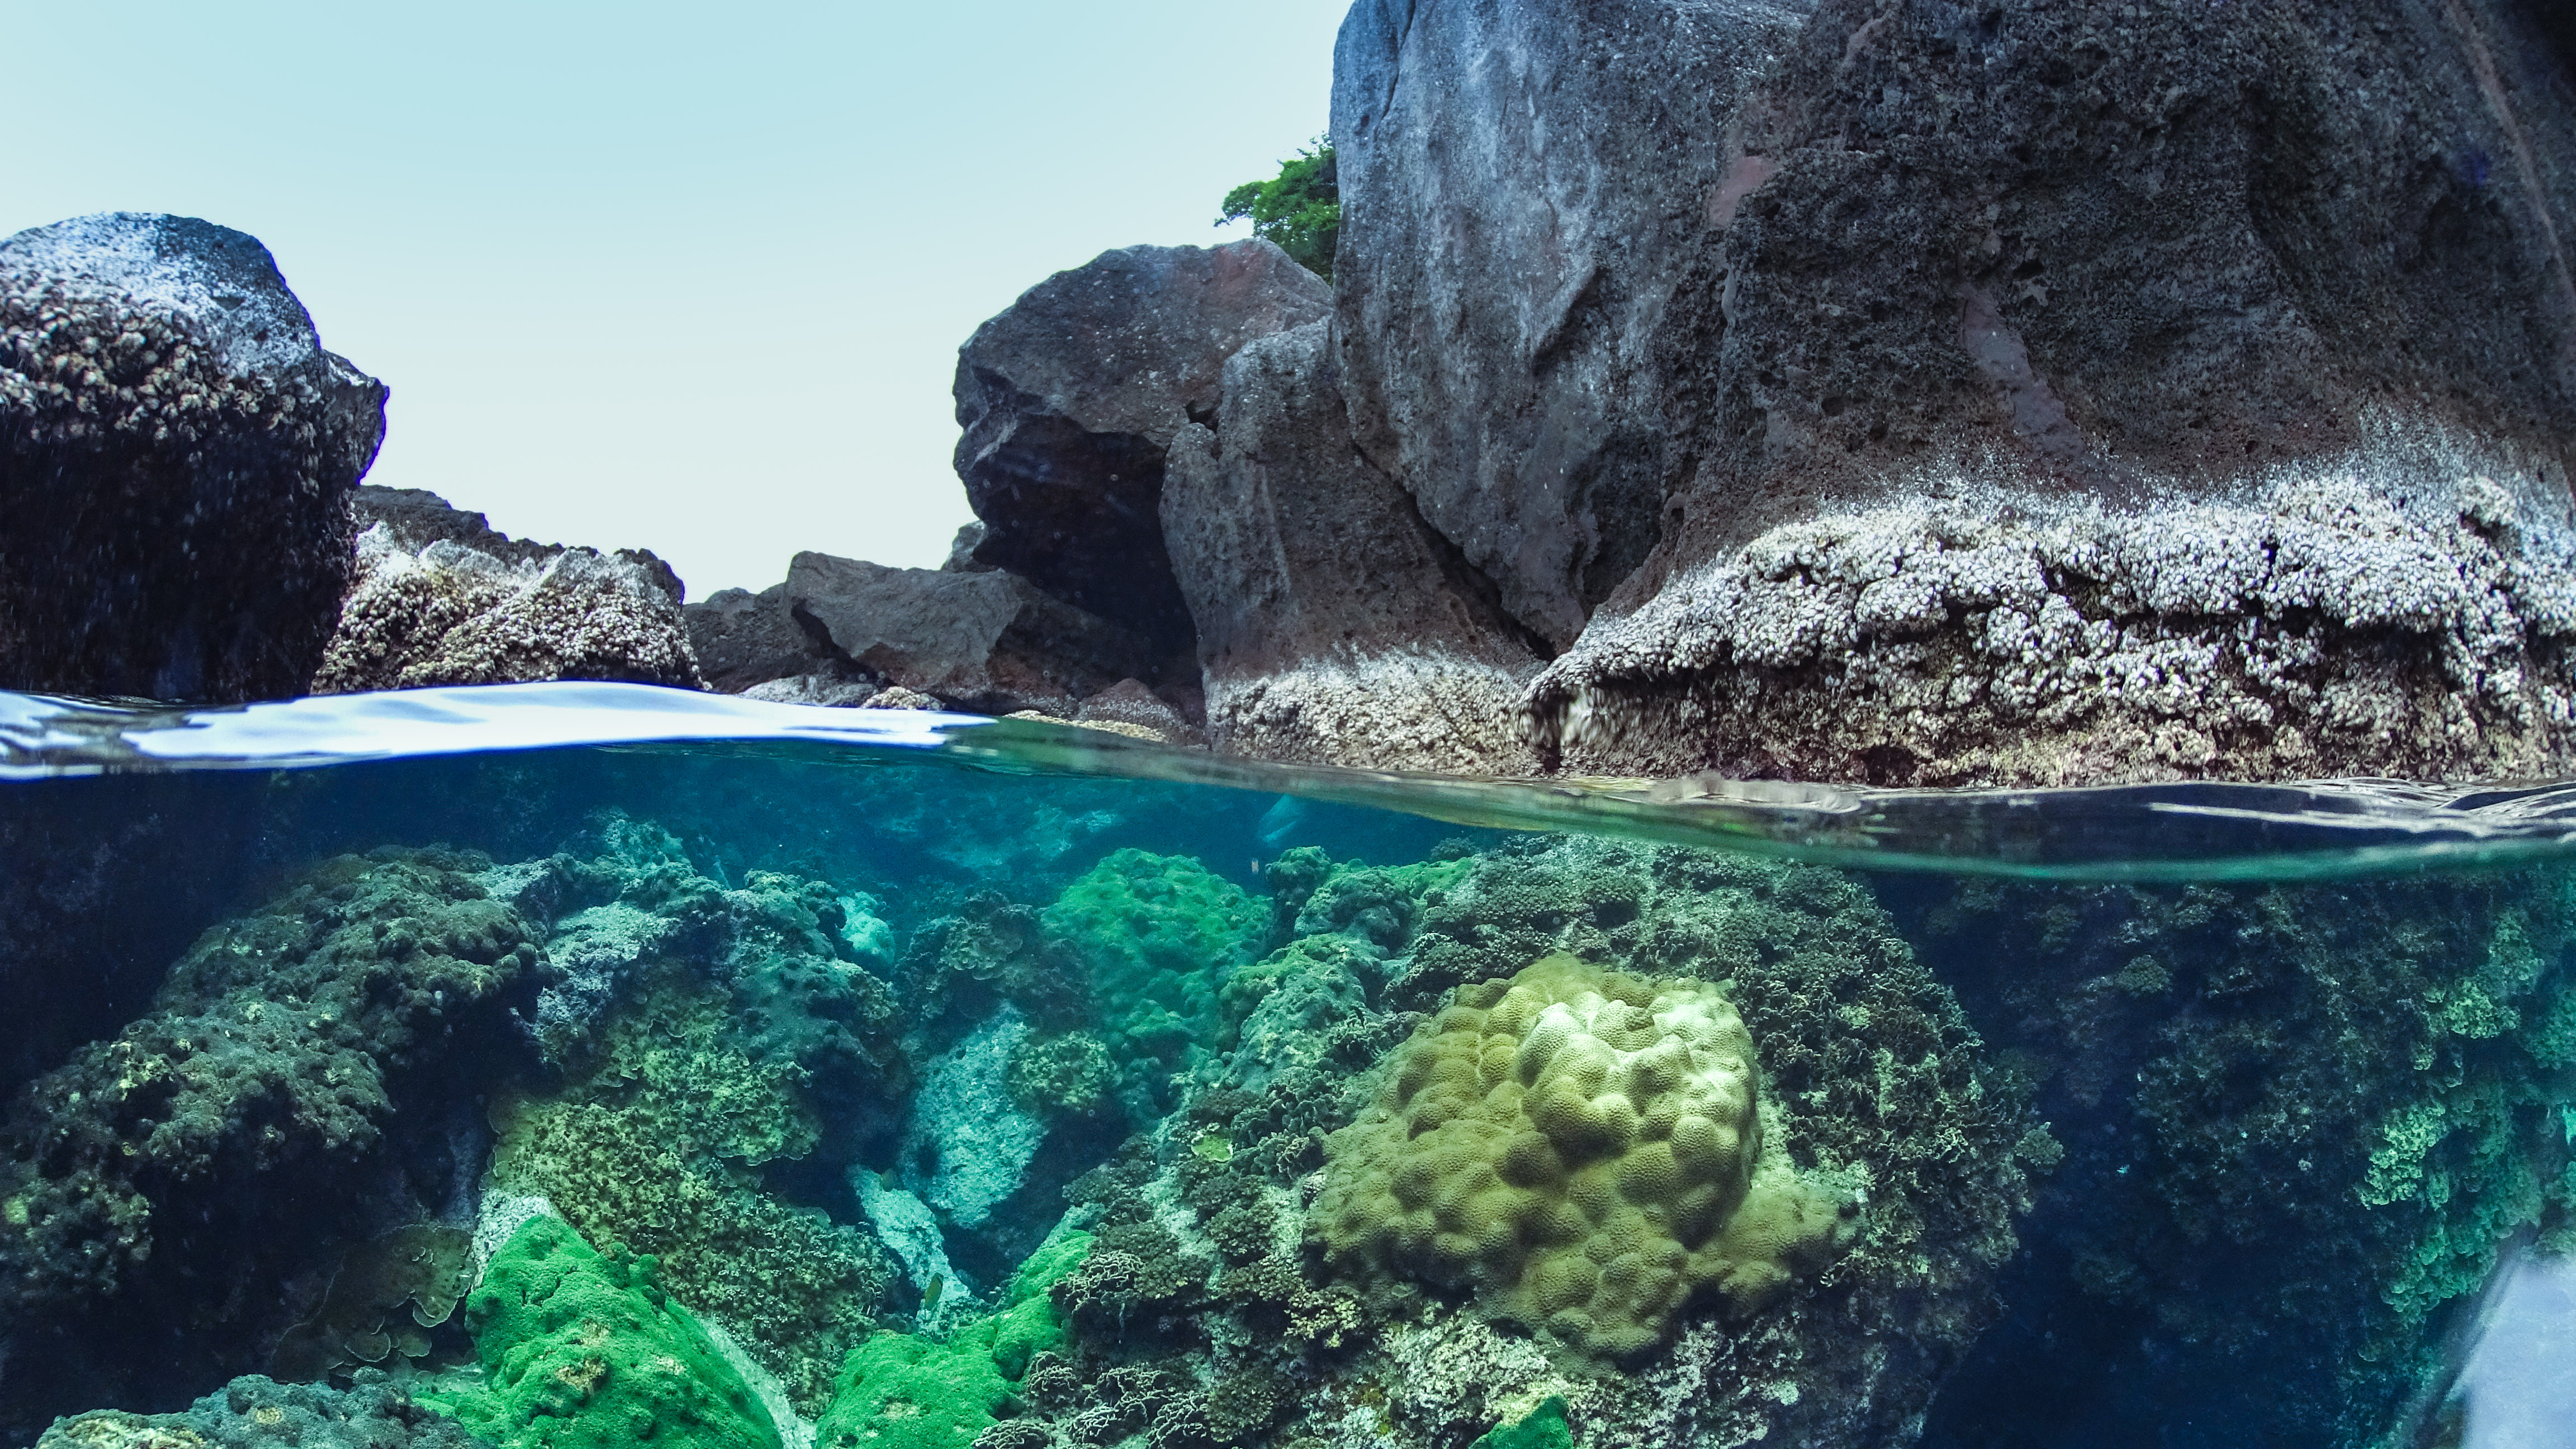
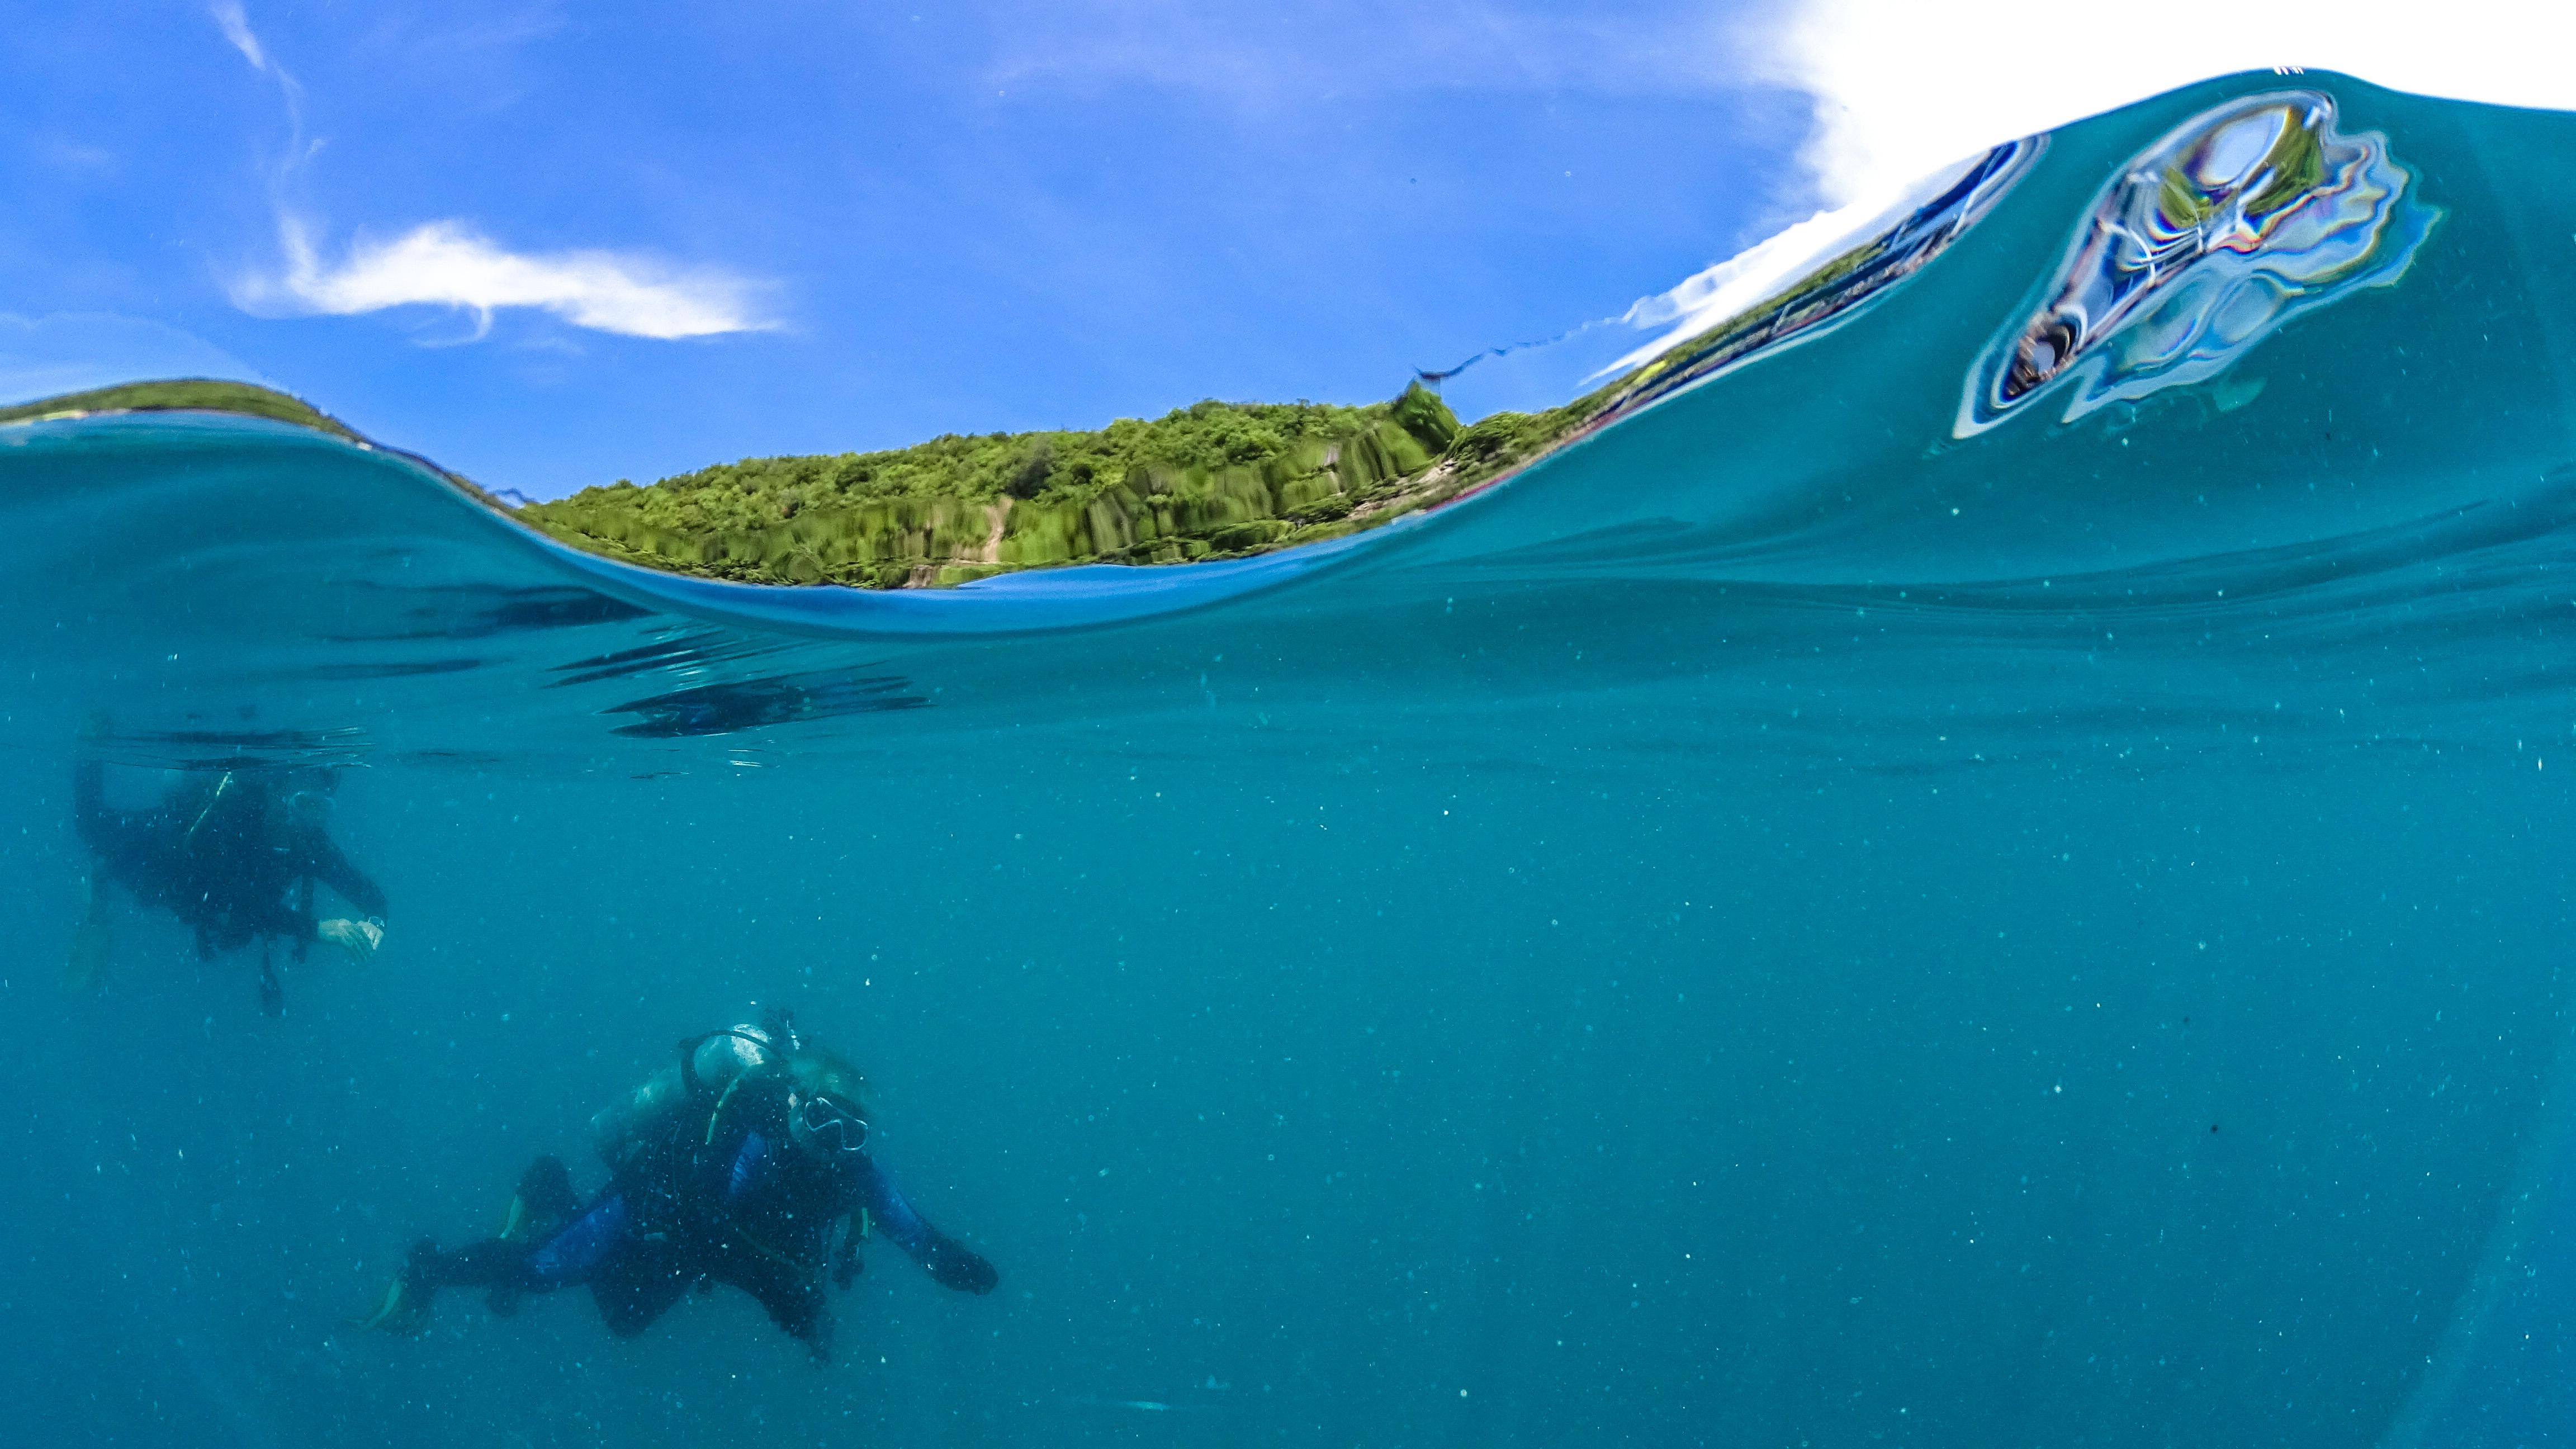
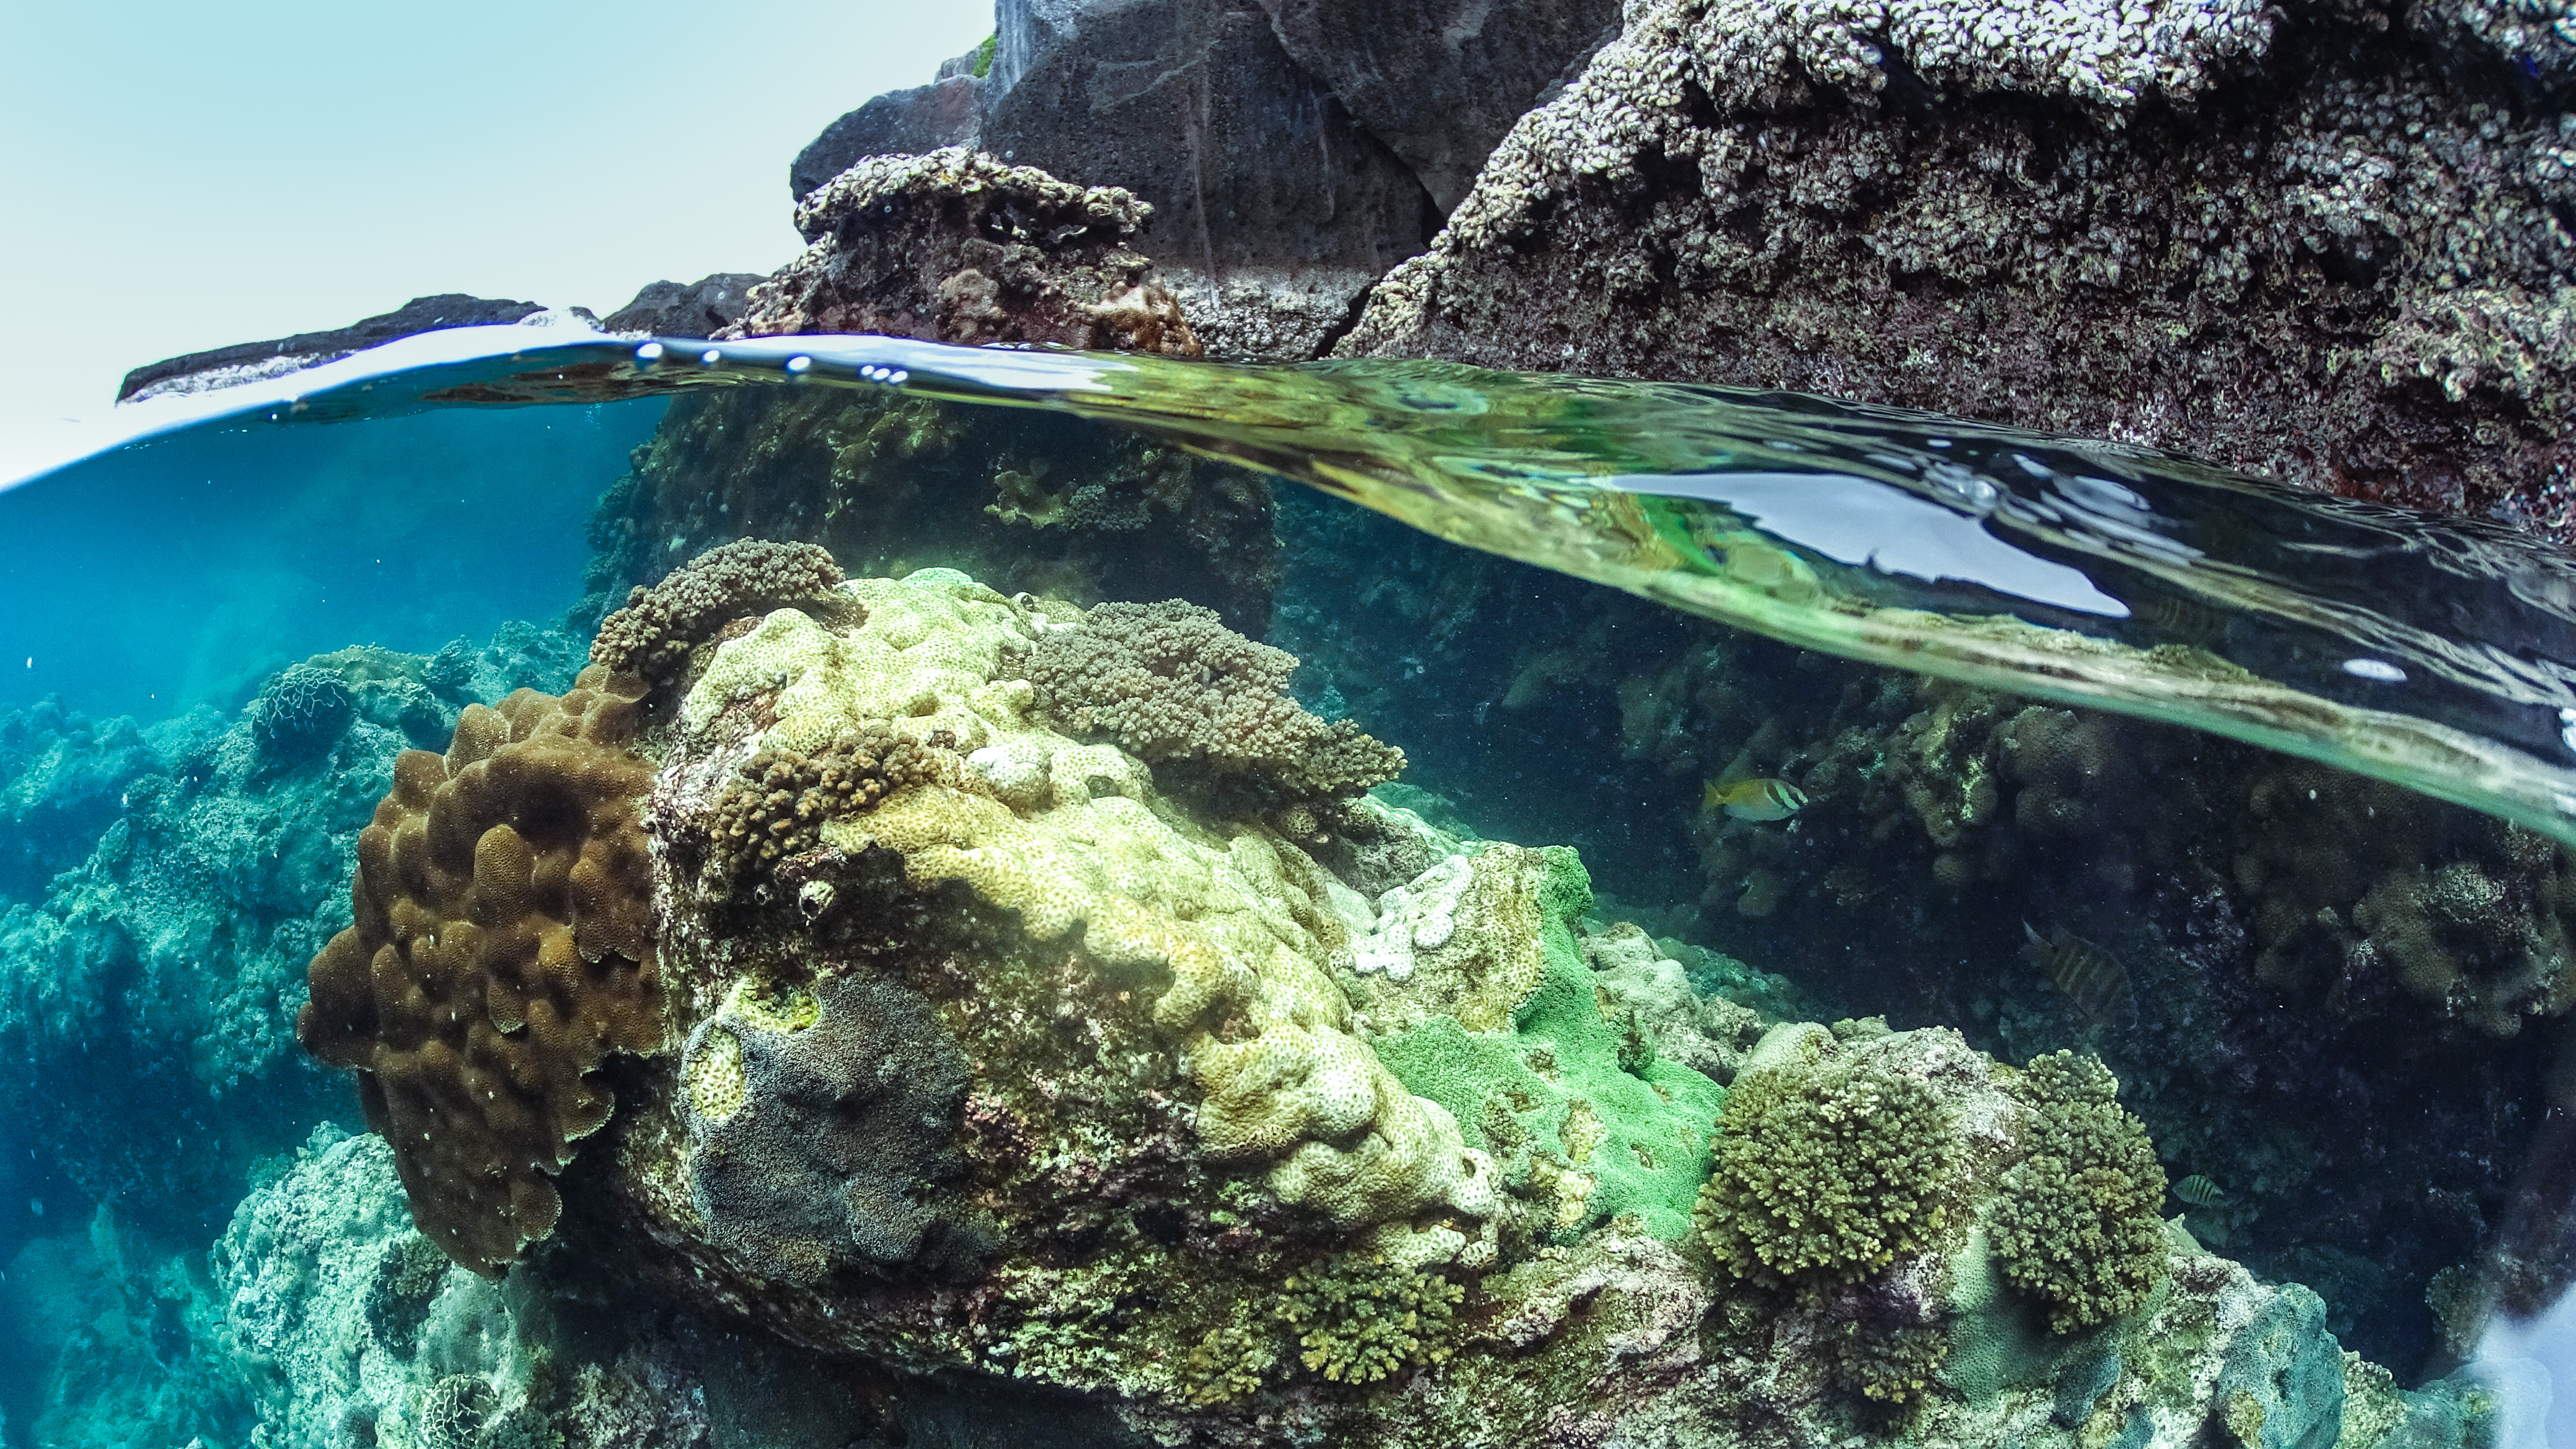
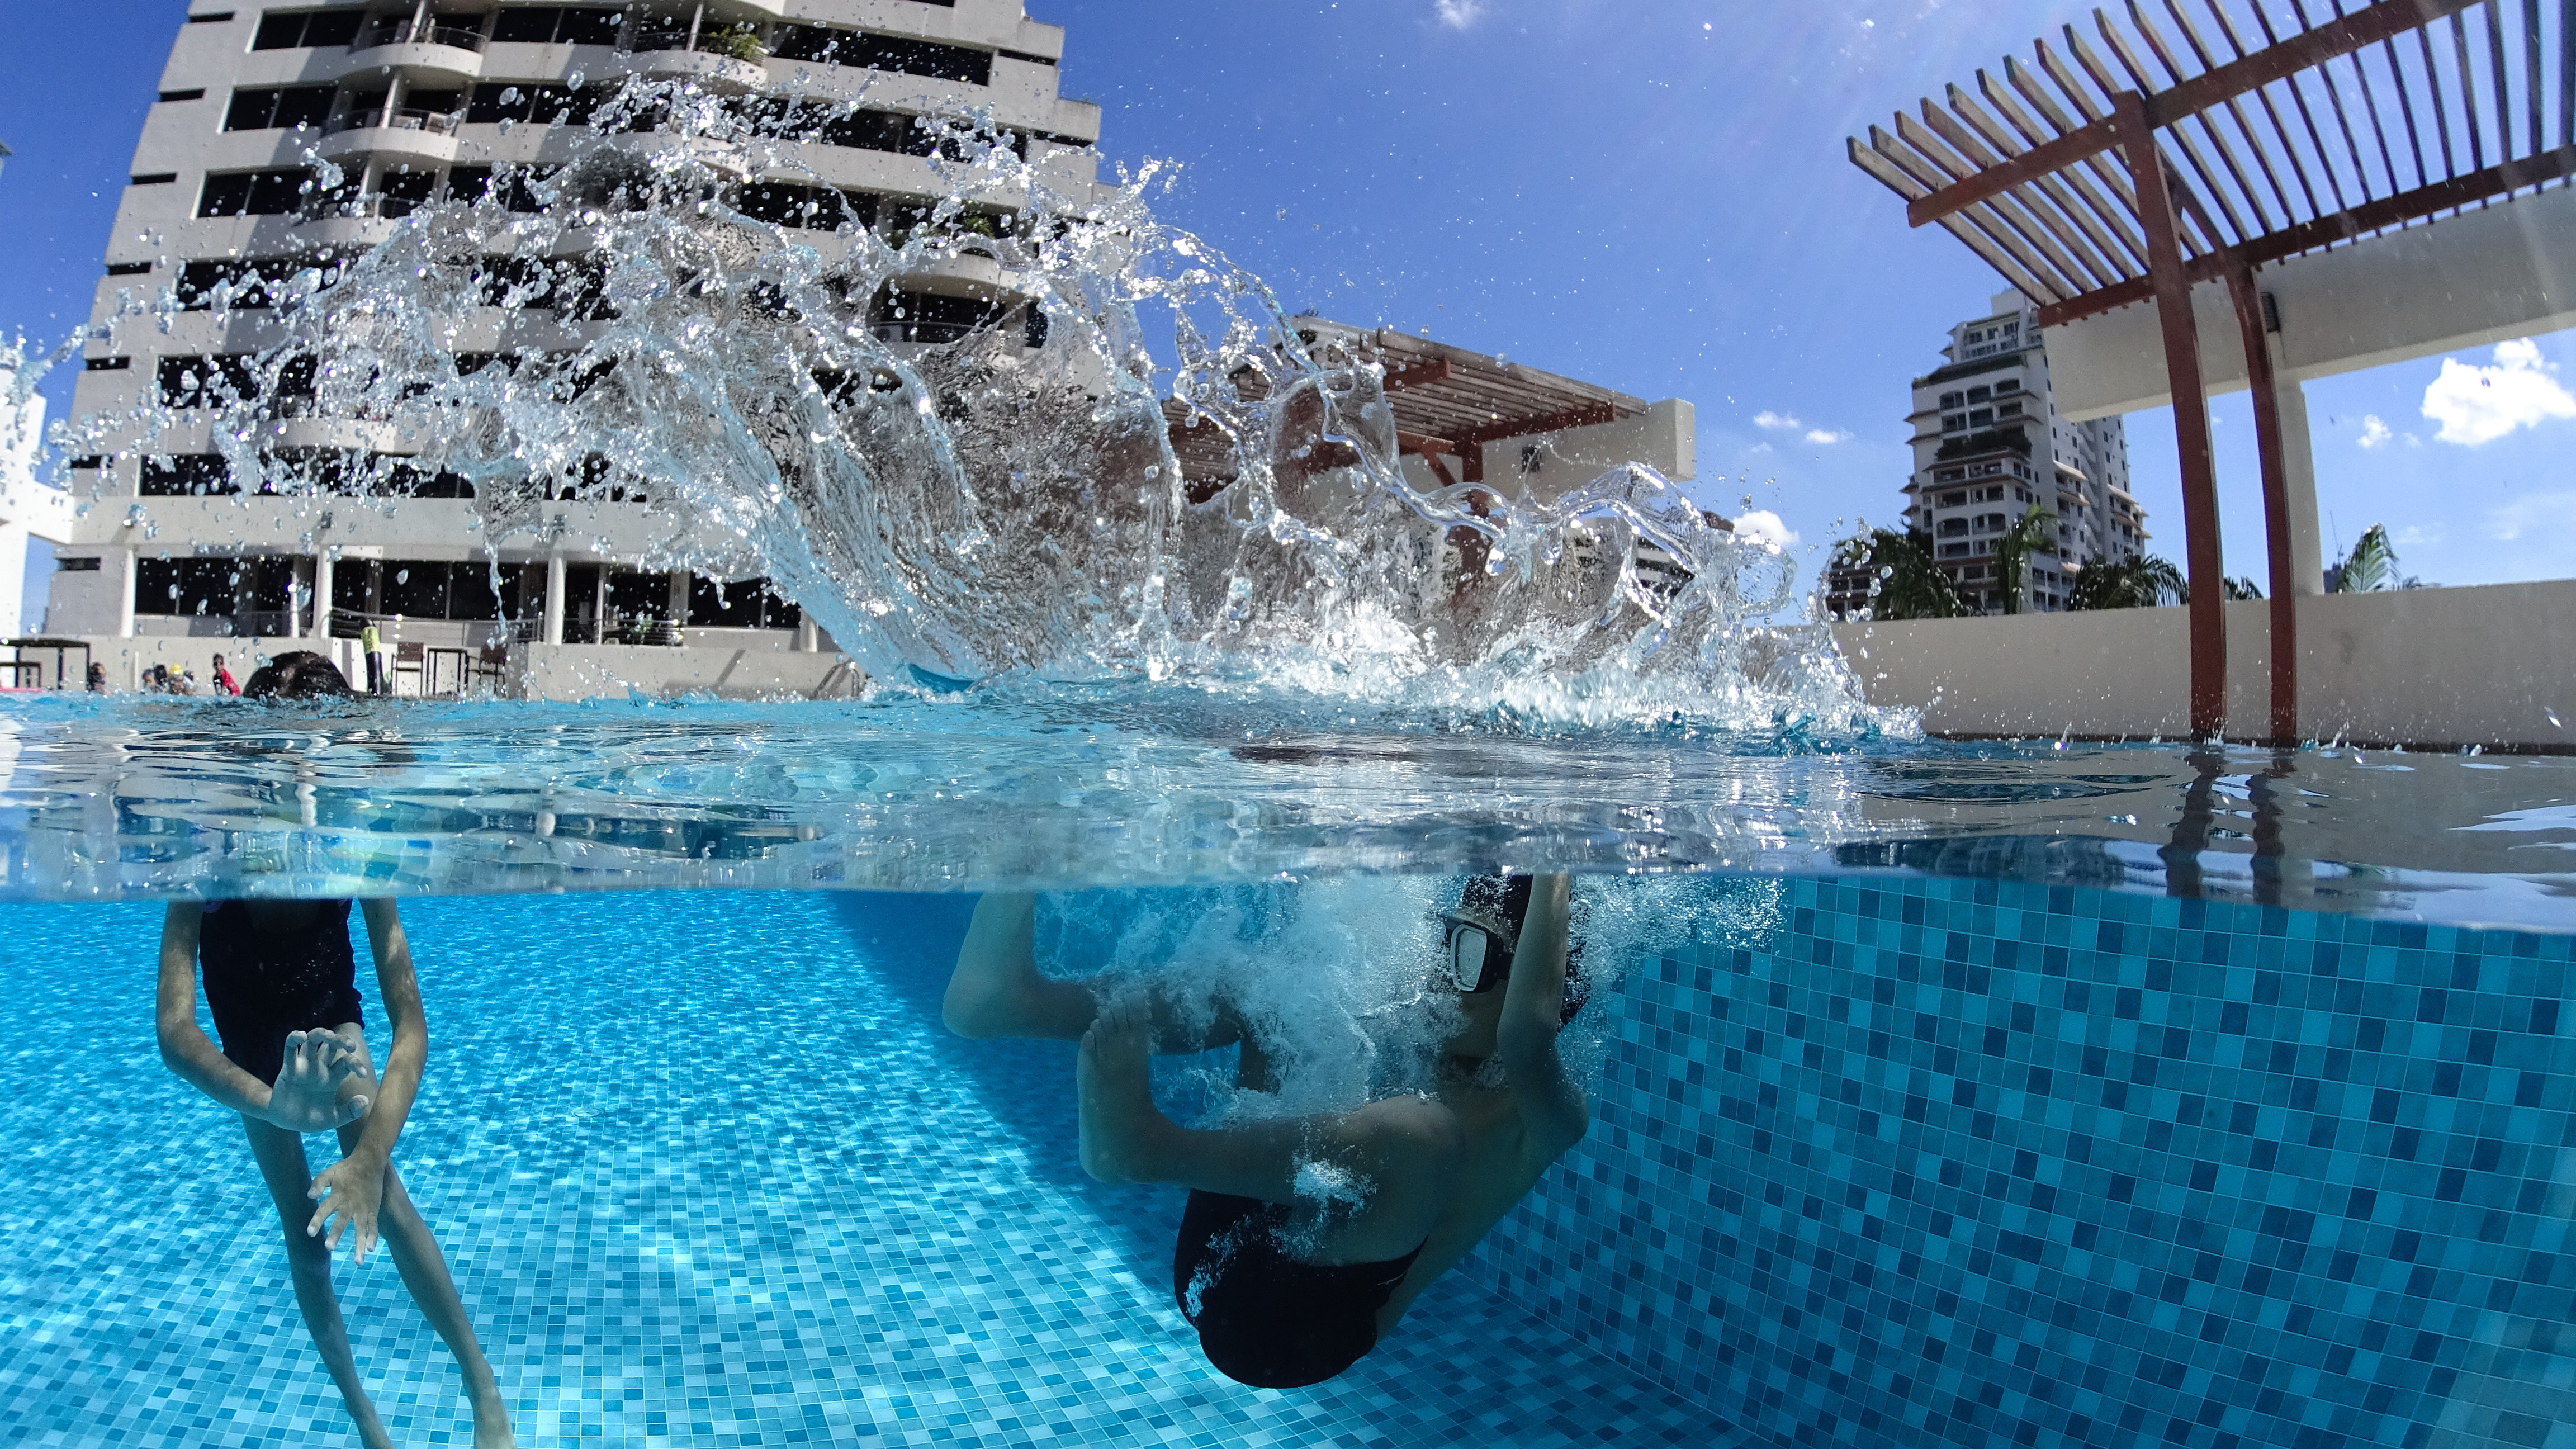
Here a gallery of pictures taken with this DIY dome port


Summary of the video
1) Disclaimer
• the dome port only works for half-over-half-under shots used at the water surface and should not be submerged underwater completely
2) Which camera models?
• any camera which can be controlled via an app or remote control device (Action Cams, GoPro, most modern compact cameras, full frame mirrorless and DSLR cameras)
• your camera will be encased in the housing and you can not press the shutter yourself
3) How to find your perfect acrylic dome
• online suppliers – Google for “acrylic dome” and find a supplier online
• look for an Acrylic Display Manufacturer near where you live – these are small factories which produce anything made from acrylic and sometimes they have these domes in stock or can tell you where to get them
4) Specifications of your dome
• perfect size: around 8-9 inches (with smaller domes, the distance from your lens to the wave is too short and will appear blurry, larger domes are difficult to transport)
• needs to have a flange, or flat rim to mount it to the housing
5) What to consider for your housing
• plastic bowl with exactly the same diameter as the rim of your dome – for cameras with detachable lenses a short bucket may be required
• depth of the bowl needs to accommodate the overall length of your camera
6) How to approach your internal camera mount
• the center of the lens has to be centered with the dome
• at the distance of the center of the lens down to the bottom of the camera you need to accommodate a platform to place the camera on
• how you hold the camera in this place is up to you – maybe even a couple of styrofoam pieces are good enough to do the job
7) Non-reflective black on the inside plane
• the surface of the round plane where the camera lens comes through needs to be black and as non-reflective as possible
• black foam mat, black matte spray paint or even black velvet are good
8) Sealing the dome with the housing
• drill holes in the plastic bowl rim and the dome rim in matching positions
• add silicone all around and press the dome in place
• add nuts and bolts to each hole and make sure everything is completely sealed with silicone
• keep the dome surface protected from scratches and silicone stains as you work
• seal off with silicone all around
9) Add a mobile phone holder
• simple foam board material does the job and is water proof
• or use a car phone holder and glue the suction cup to the housing
10) Keep your dome protected
• prepare a way to avoid scratches or bumps to your dome and cushion it as you transport it
11) Rigging your camera
• you may not be able to turn your camera on and off once it is sealed inside the housing (unless you use a Sony Action Cam with a Live View Remote)
• turn off the sleep mode of your camera to keep it from shutting down automatically
• if this is not possible, you may have to take a picture every minute to keep your camera from falling asleep
• turn on your camera, place it inside the housing and fix it in its designated place
• tape shut the cut-out portion of your plastic bowl housing with duct tape
• add another layer of protection with a plastic foil patch and duct tape and add a layer of tissue to absorb moisture
• protect your phone from water with a seal bag or zip-loc bag and strap it on the phone holder with rubber bands
• if you use a Live View Remote for a Sony Action Cam, hold it in your hand with a lanyard around your wrist
12) Thoughts about alternative housing designs
• rather than cutting an opening into the plastic bowl housing at the bottom of the bowl, you may have to devise a way to cut around the side of the bowl or – if possible – the top of the bowl or bucket; whatever works best for the size of your camera
• at the distance of the center of the lens down to the bottom of the camera you need to accommodate a platform to place the camera on
• how you hold the camera in this place is up to you – maybe even a couple of styrofoam pieces are good enough to do the job
13) Tips about shooting your perfect shot
• shoot in burst more – not single shot
• best burst mode setting: around 5 frames per second for a duration of 2 seconds
• for ocean photography: put on your fins (do not stand on coral) and your mask to survey the area you shoot
• do not wear your snorkel but wear a life vest to keep yourself buoyant and still while you take the shot
• if possible, bring a buddy with dry hands on a dinghy or kayak to wipe off drops on the dome for you
• keep the entire dome out of the water as you fin over to where you will take the pictures
• try and keep the top half of the dome dry
Recent Comments