A underwater macro lens at a price fraction of a factory made lens
The more you enjoy taking pictures underwater, the more you are intrigued by the realm of the seemingly invisible objects – macro photography. But professional macro lenses are anything but cheap. Many divers who dip their feet into the topic of underwater photography quickly learn, that every piece of additional camera equipment usually equals the price of your camera all over again! This applies to the housing, a simple external flash, a basic wide angle lens or like in our case a macro lens.
The idea is born do take on the challenge and create some of you dive stuff yourself. Not possible for stuff like the housing of your camera and definitely not advisable for anything relating to your personal safety.
On dive boats I had observed divers who brought magnifying glasses with them to observe small marine life. My challenge to myself was then to find a way to create a camera mounted magnifying device to enter a range of focus previously not possible with the parameters of my camera.
The result of this idea is explained in this video here and – as mentioned – it is meant as an inspiration for other divers to pick up the idea and experiment with similar materials to arrive at a self-made macro lens.
By all means: as exciting as the making and picture taking with my lens was – it could never fully replace the quality and convenience of a professional lens. But is serves as a great start to explore the first steps of macro photography without having to dish out the budget of your next live-aboard trip.
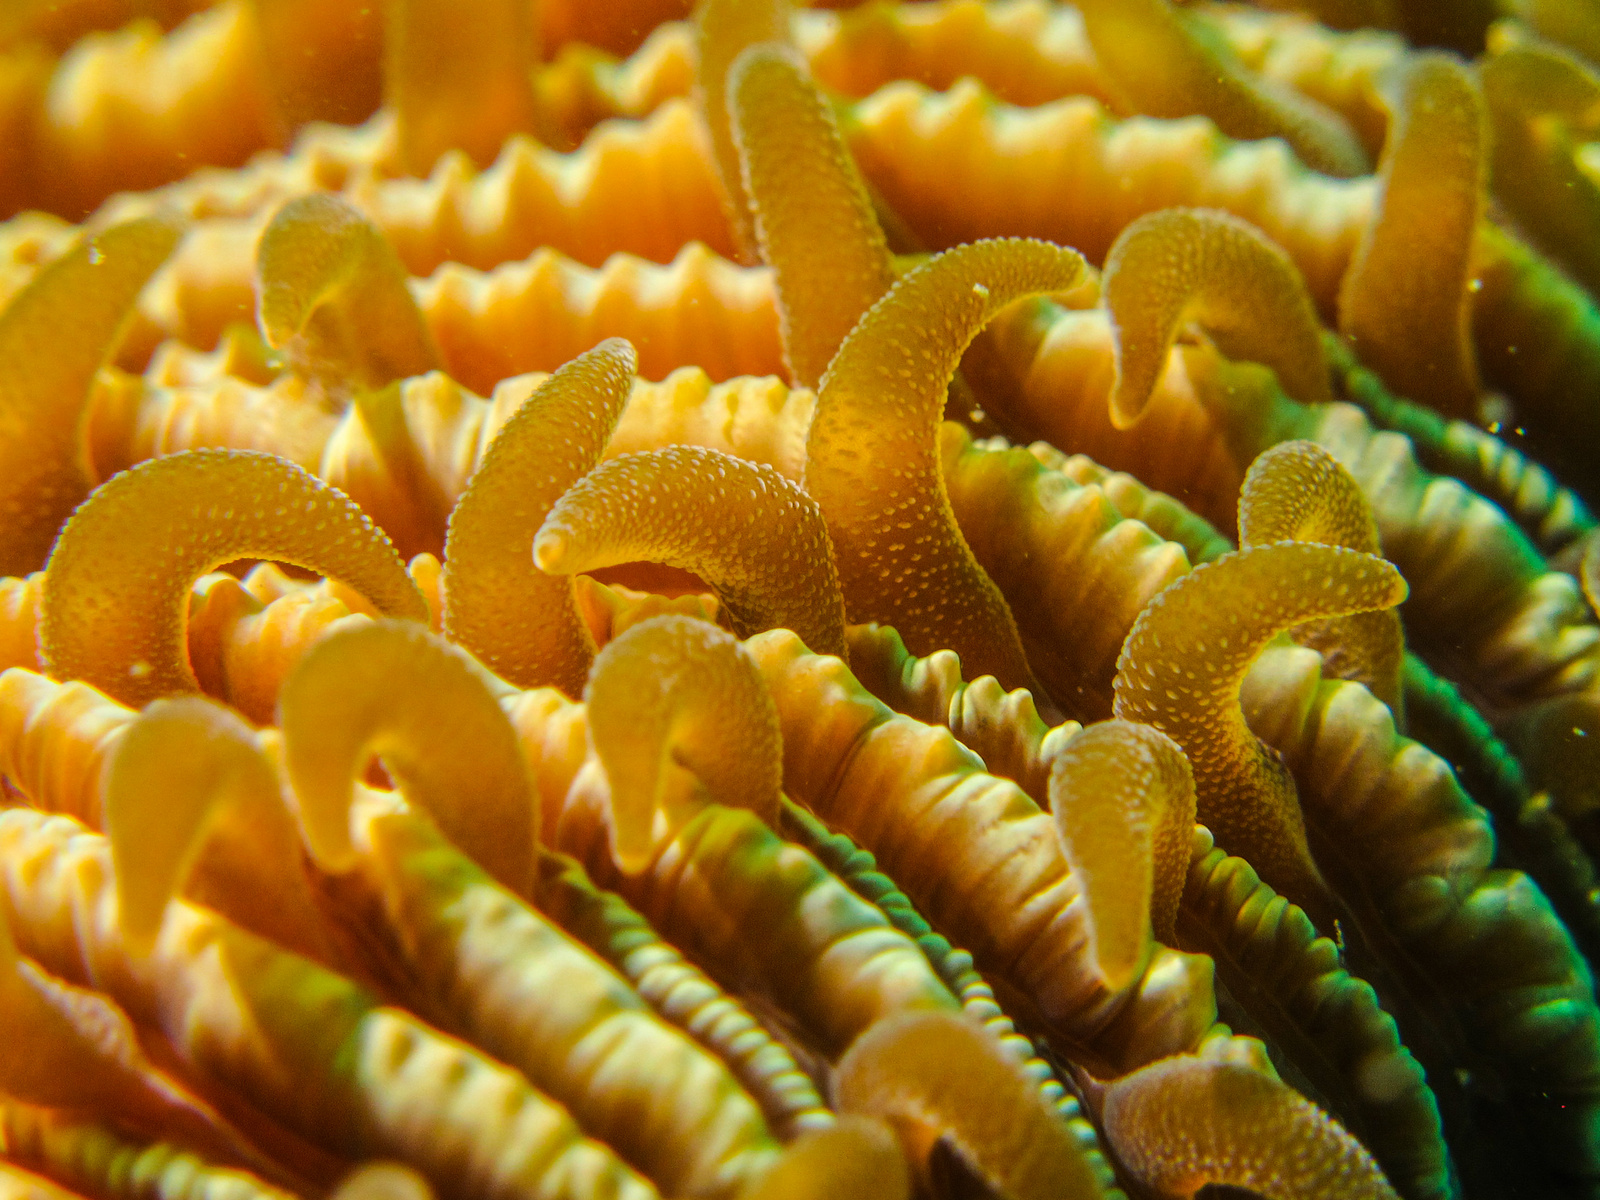
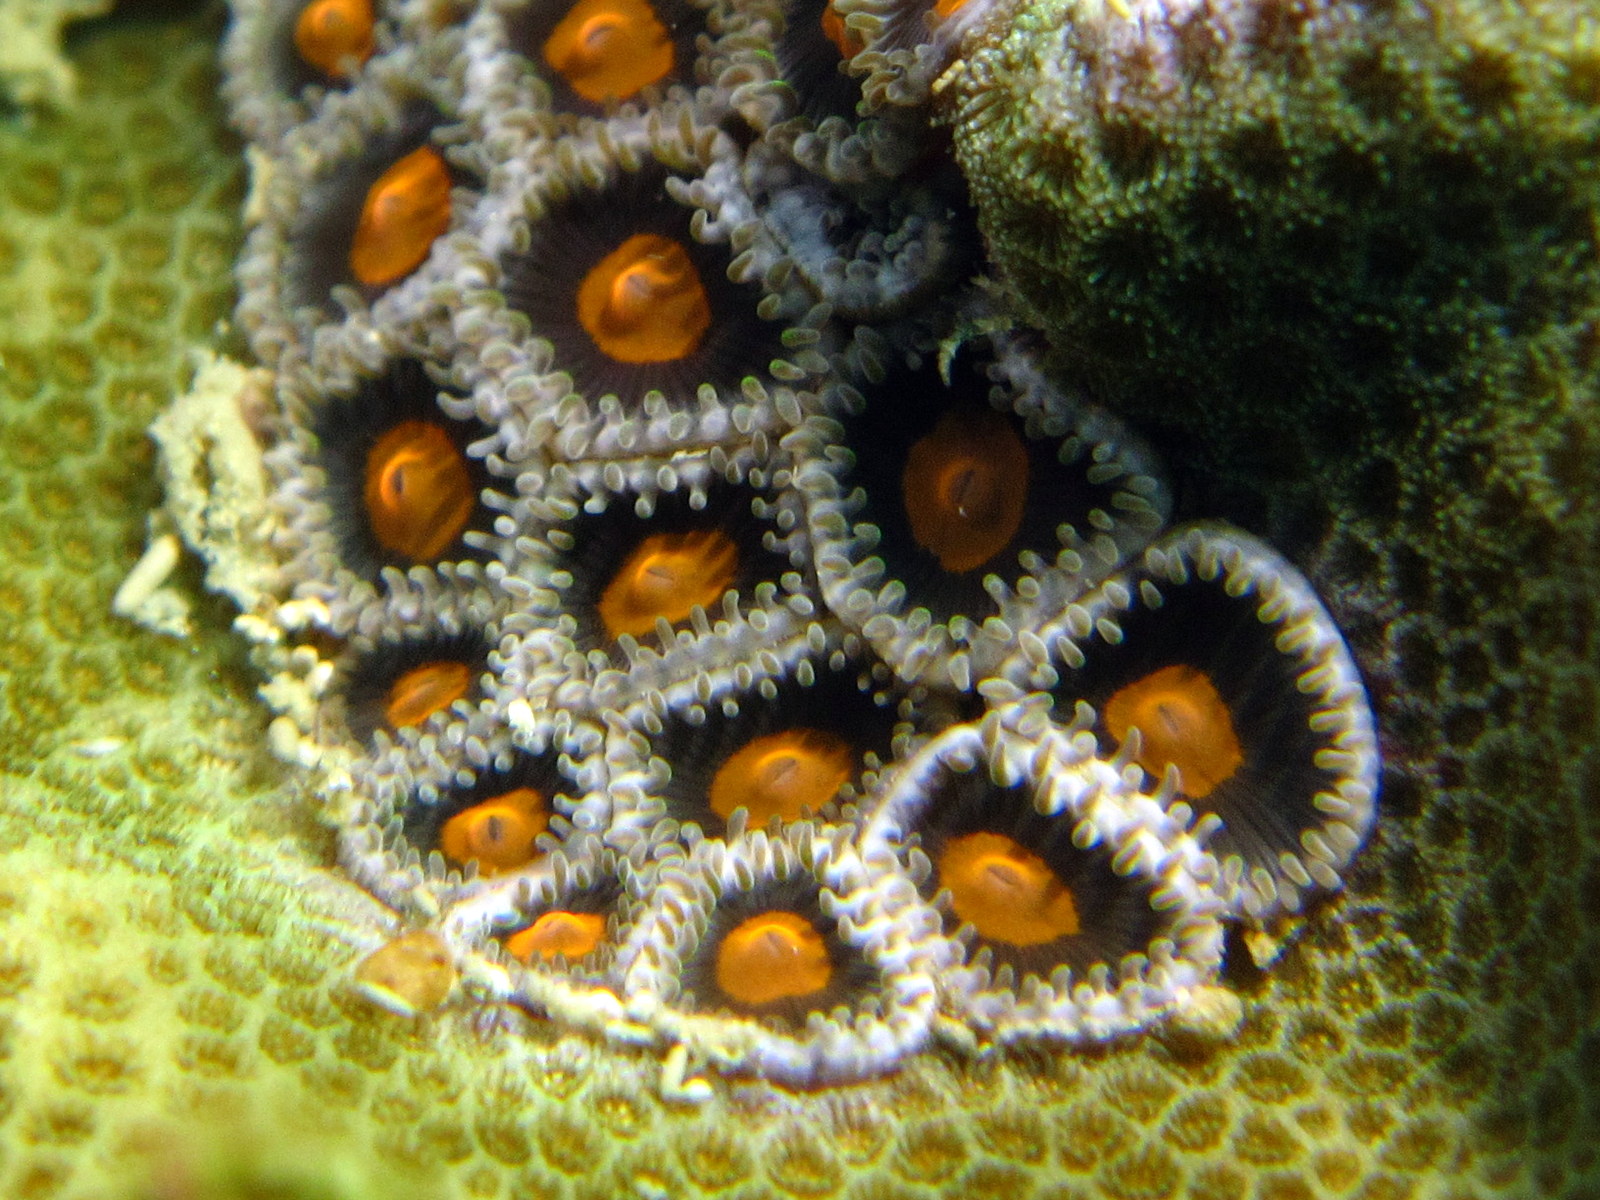
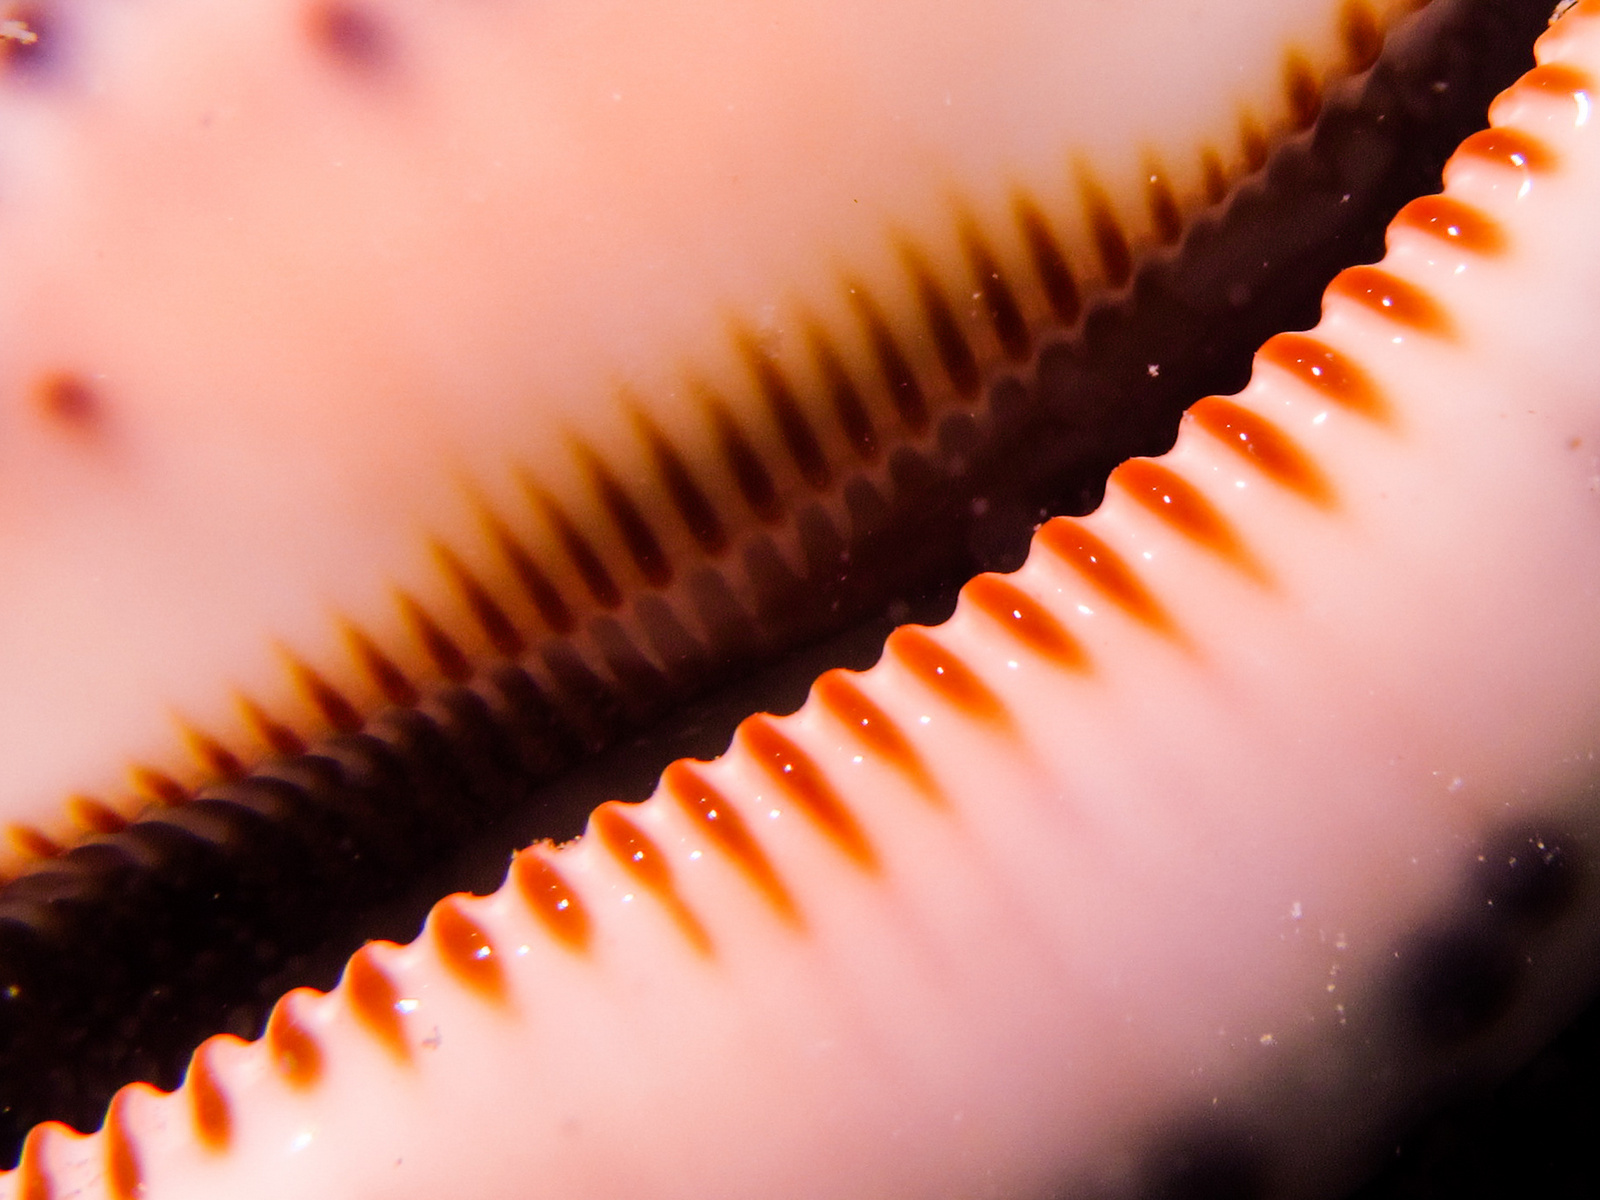
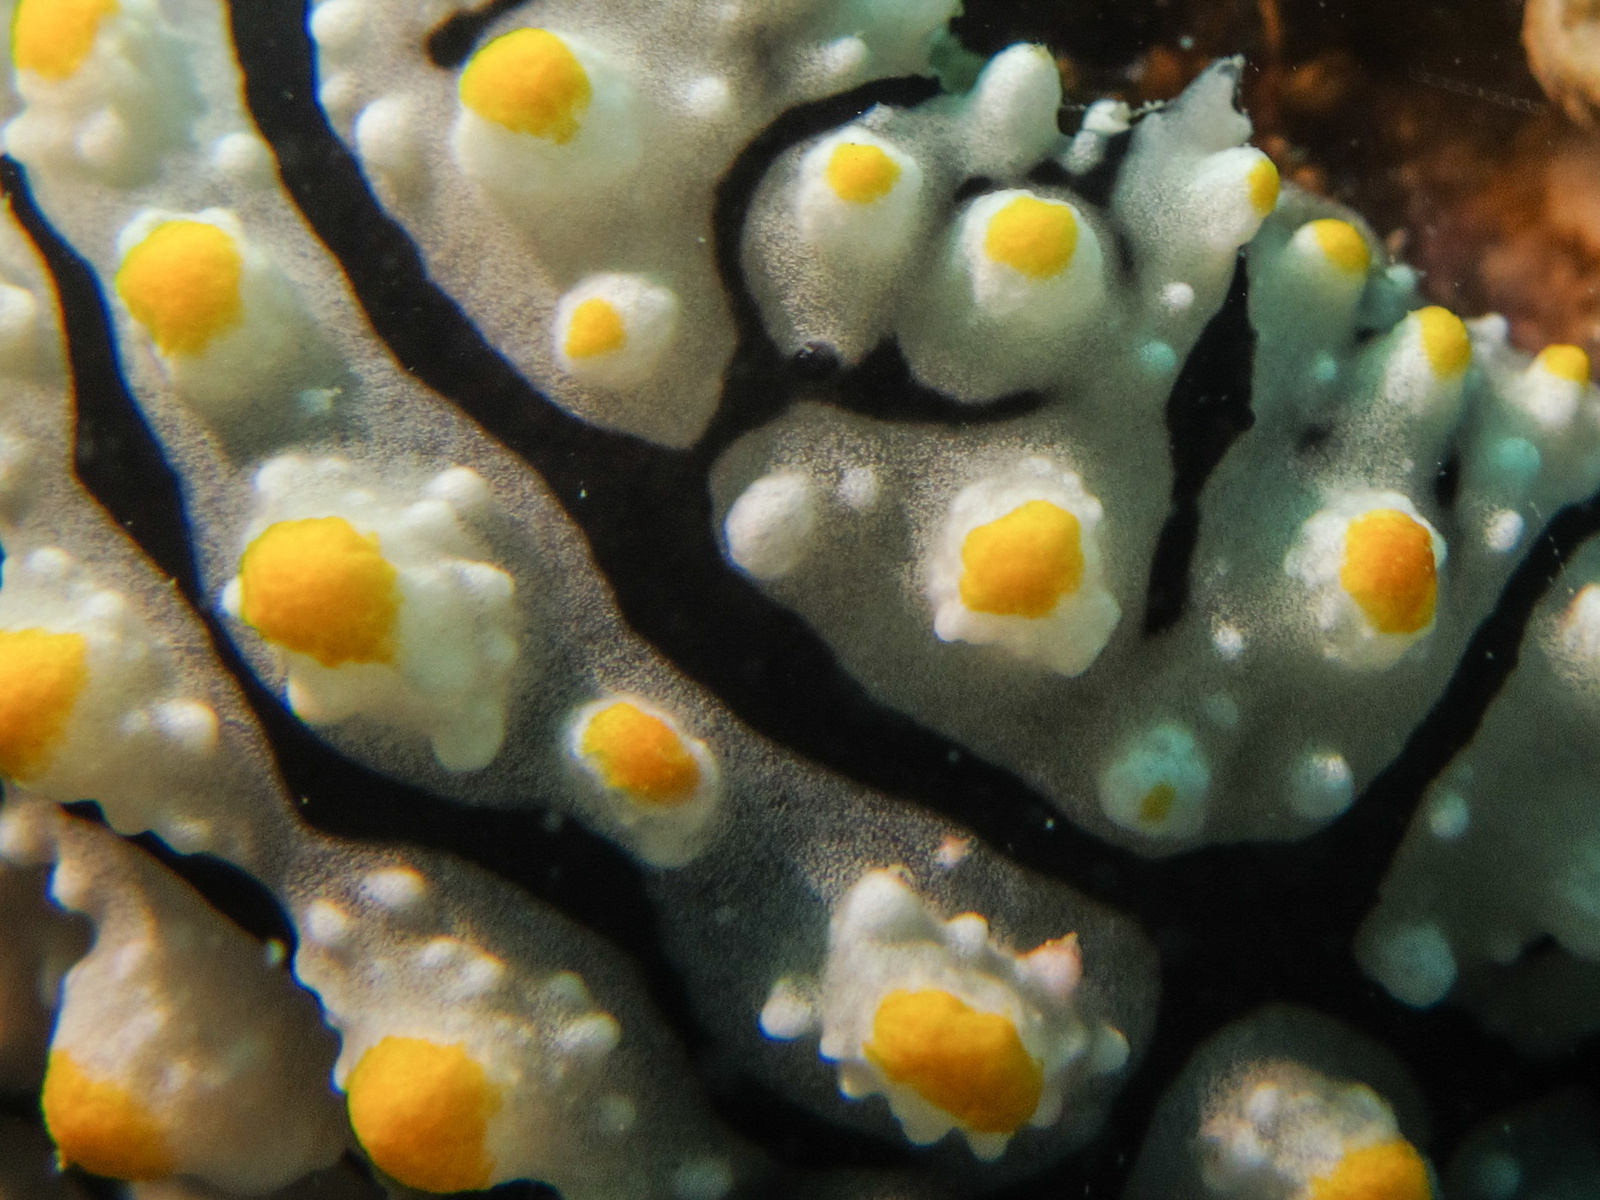
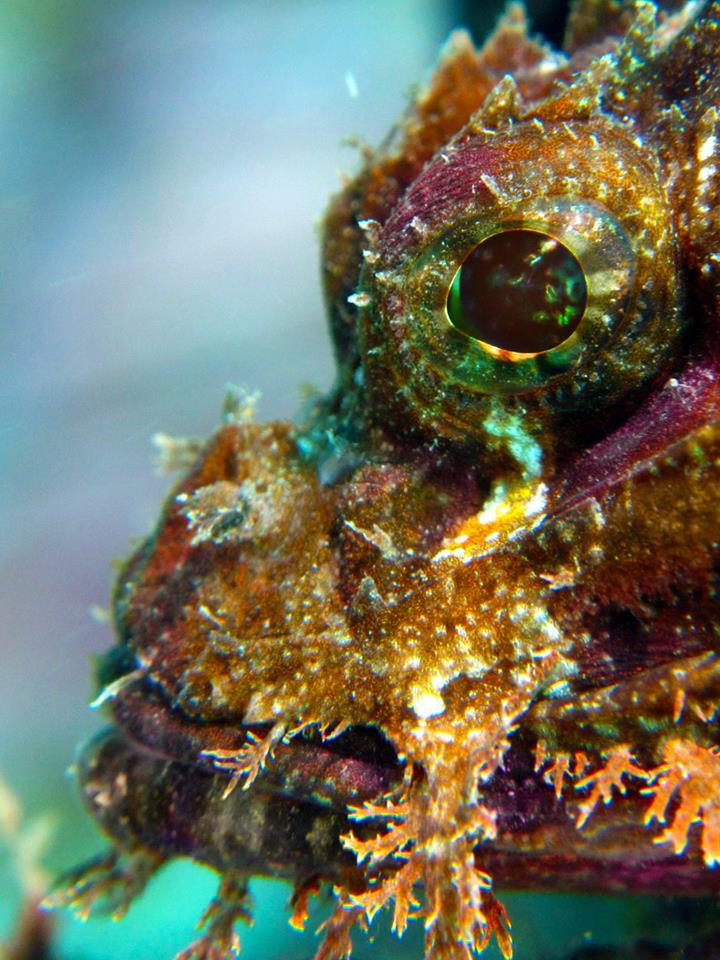
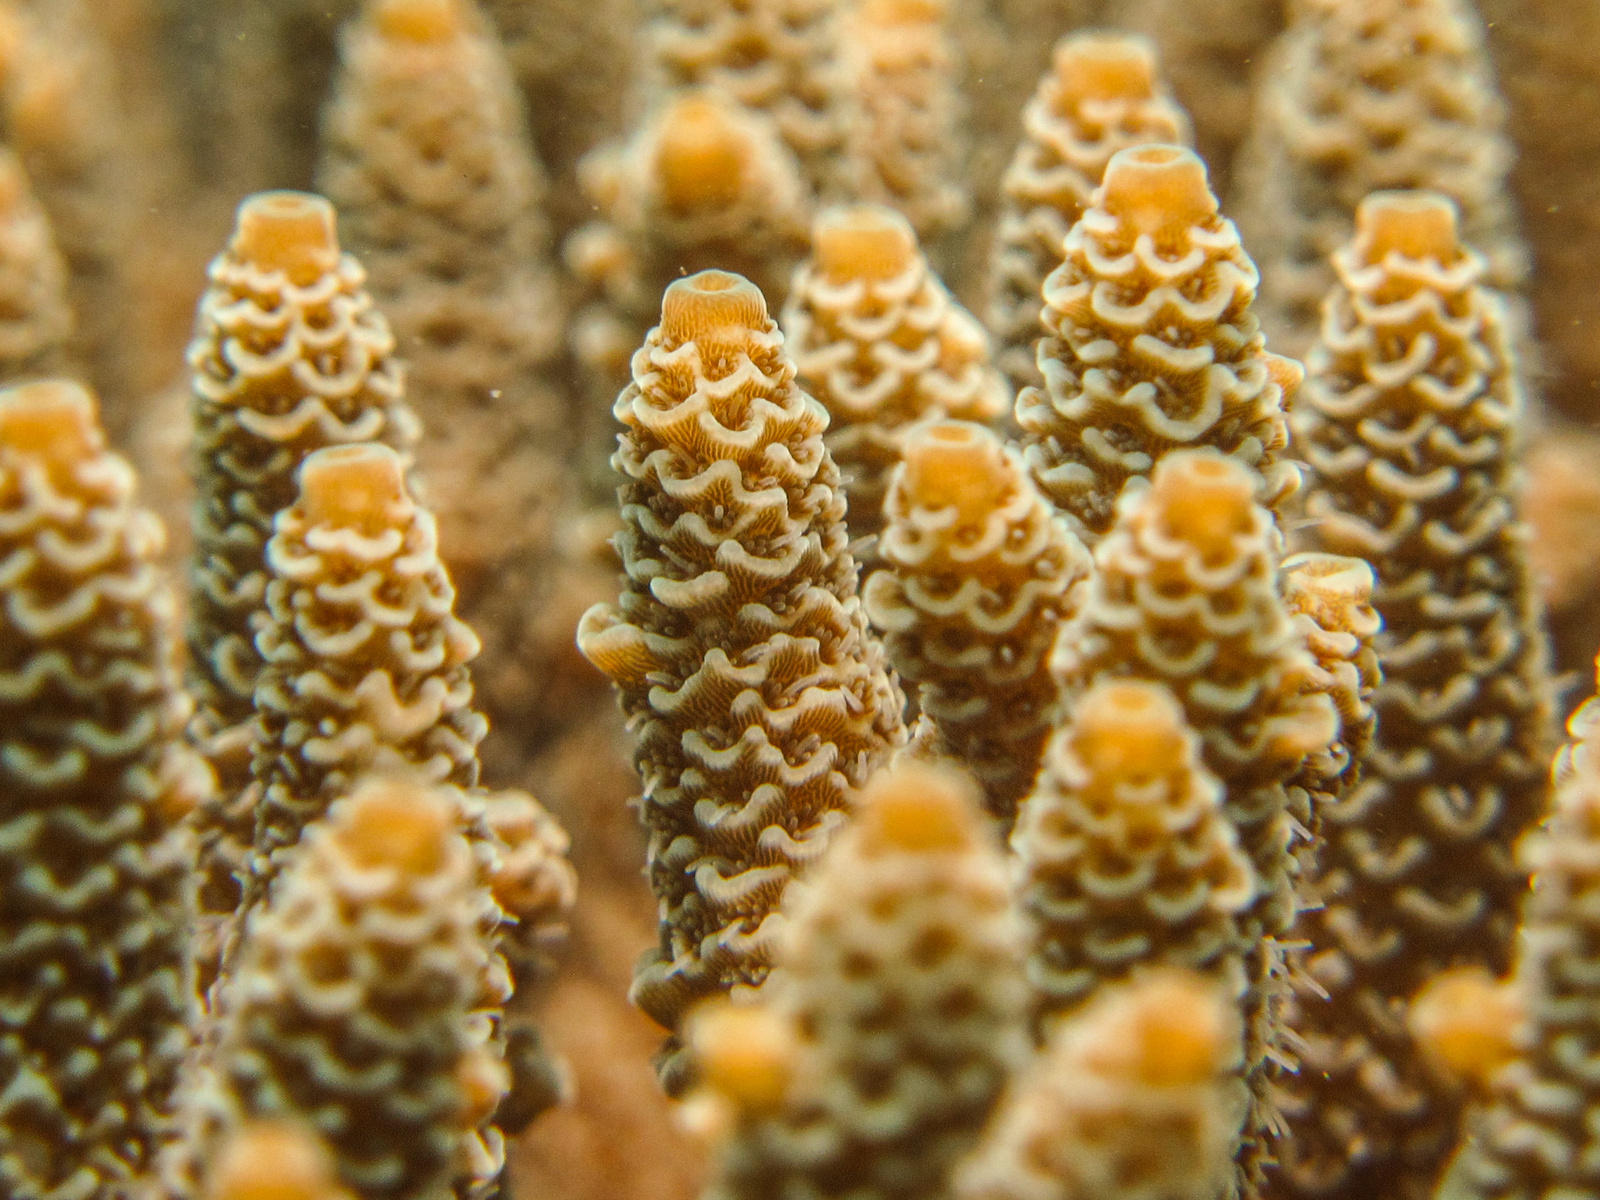
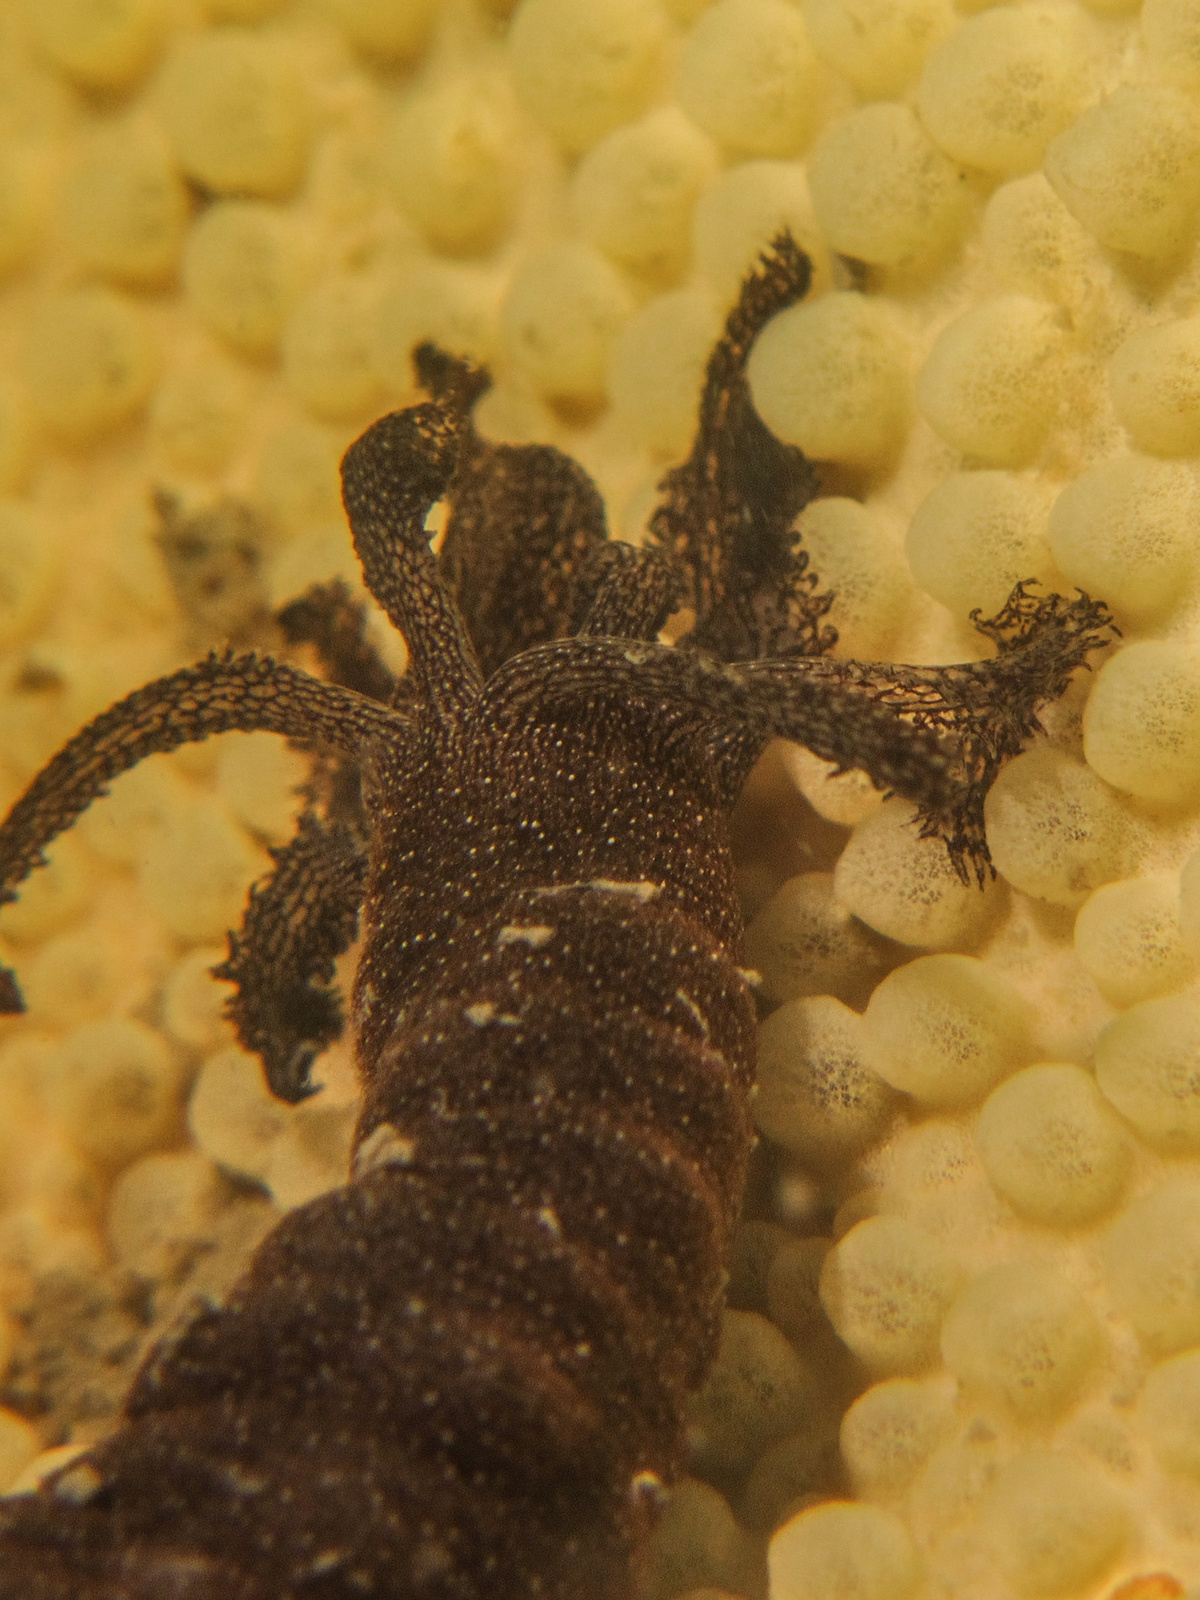
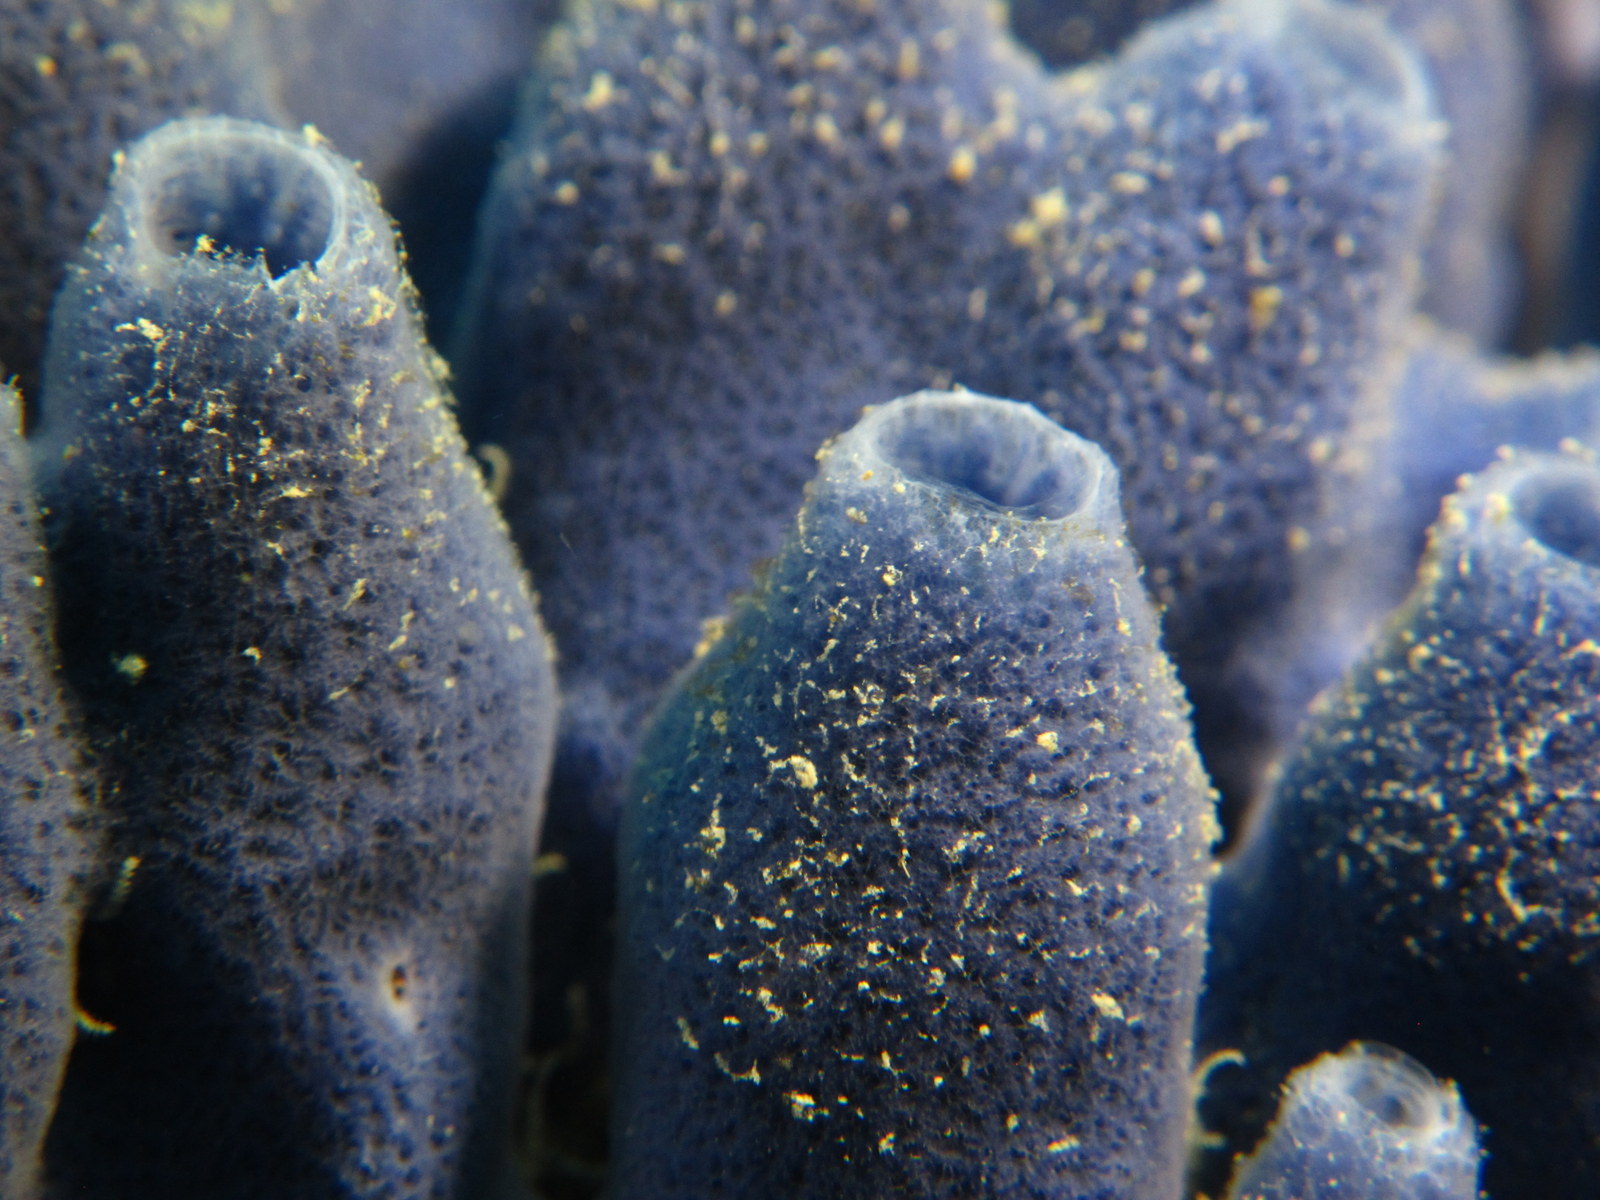
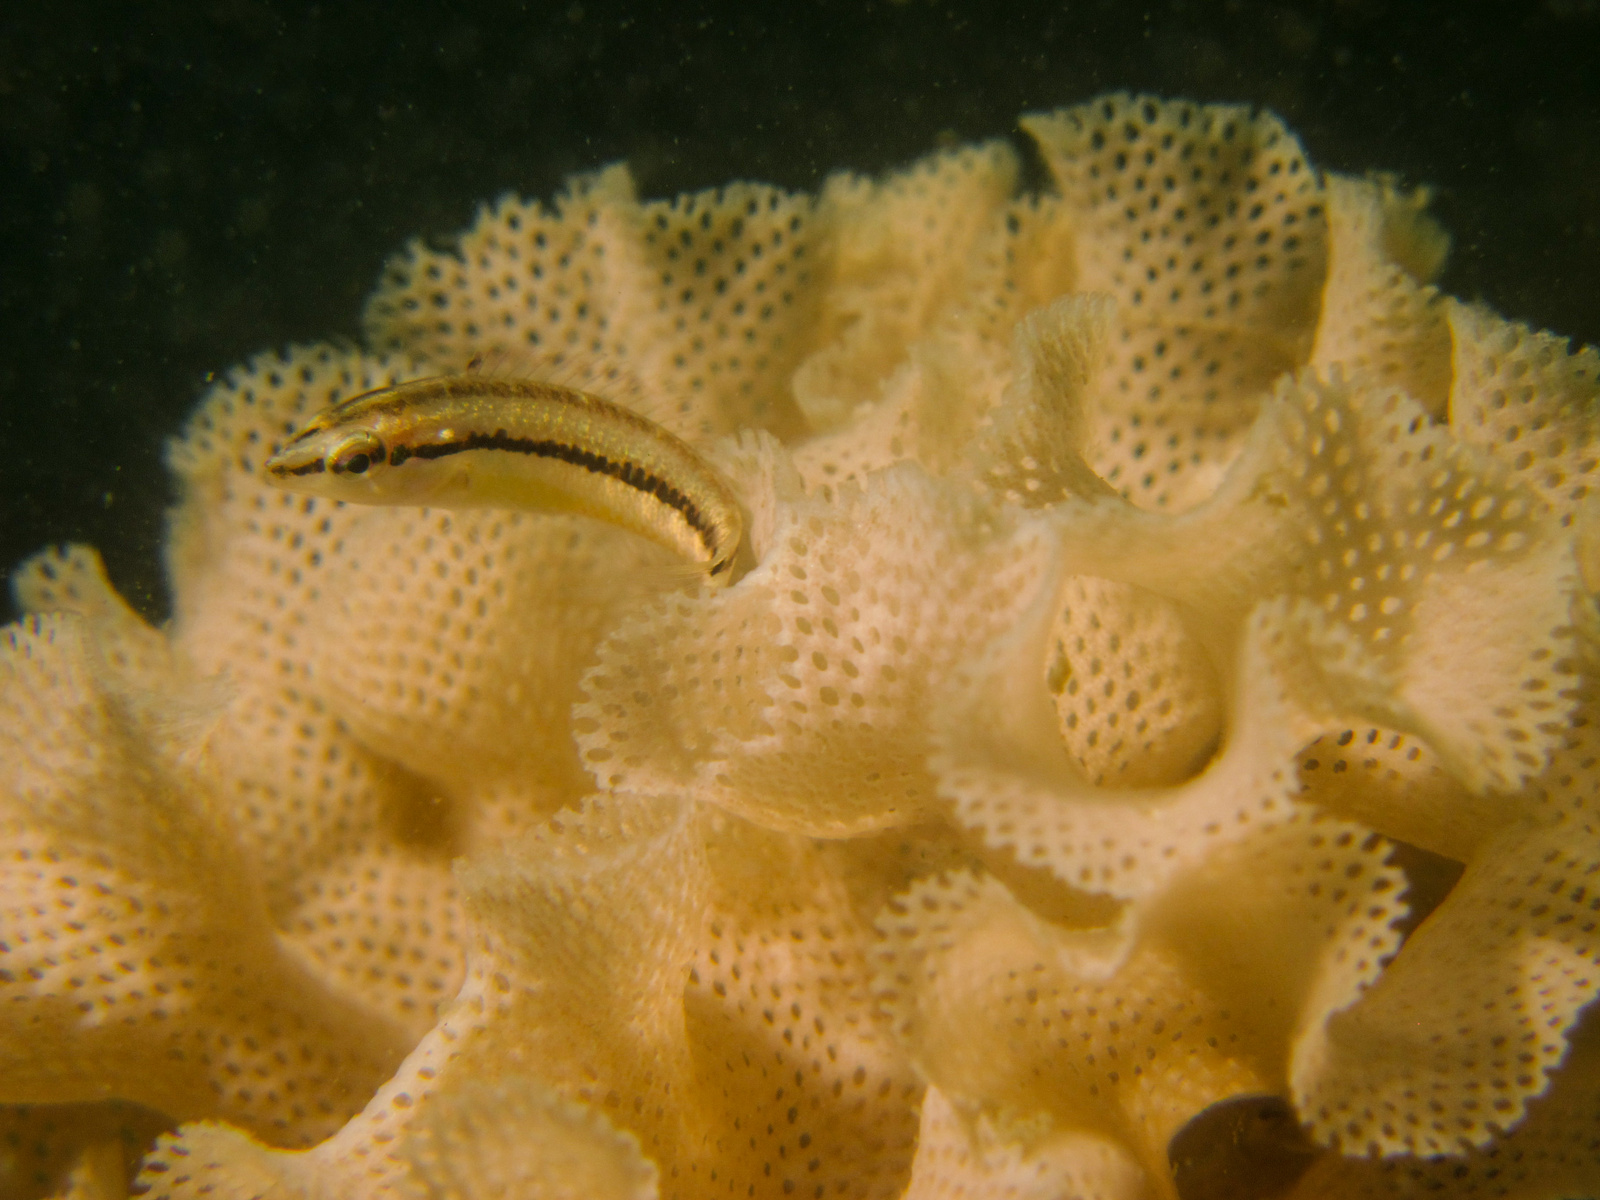
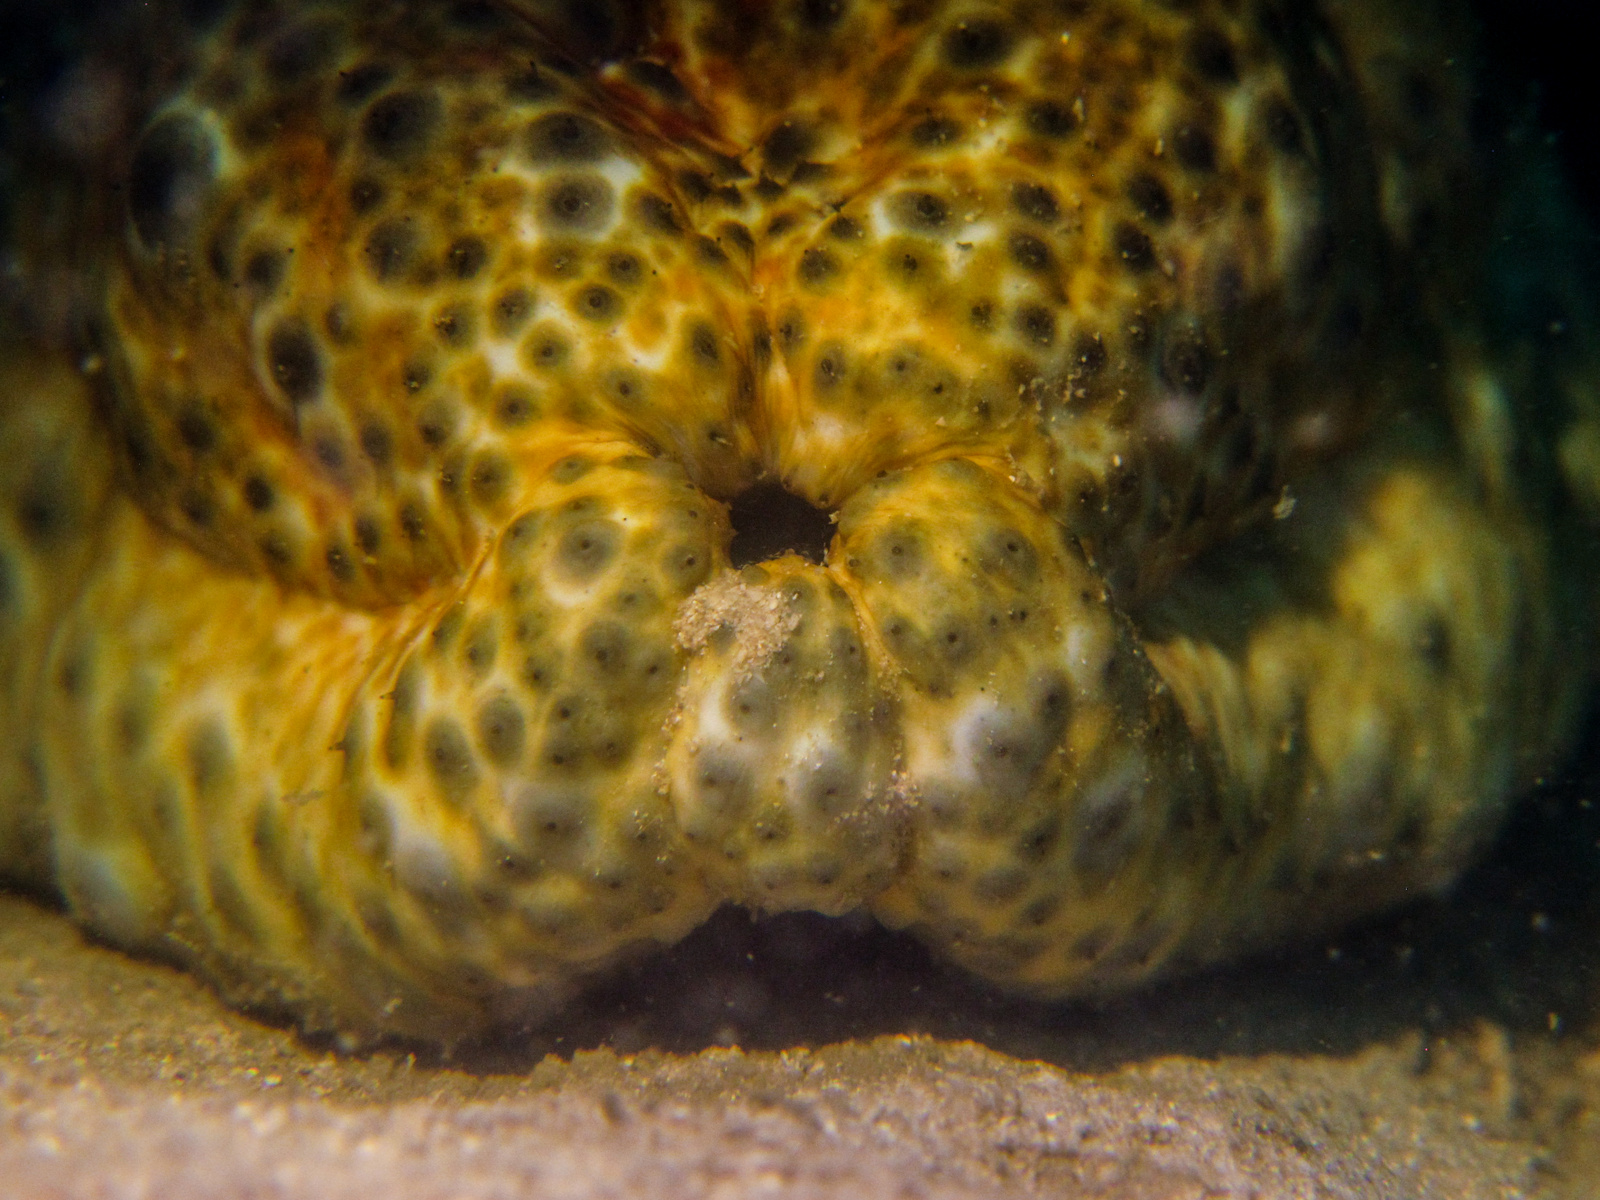
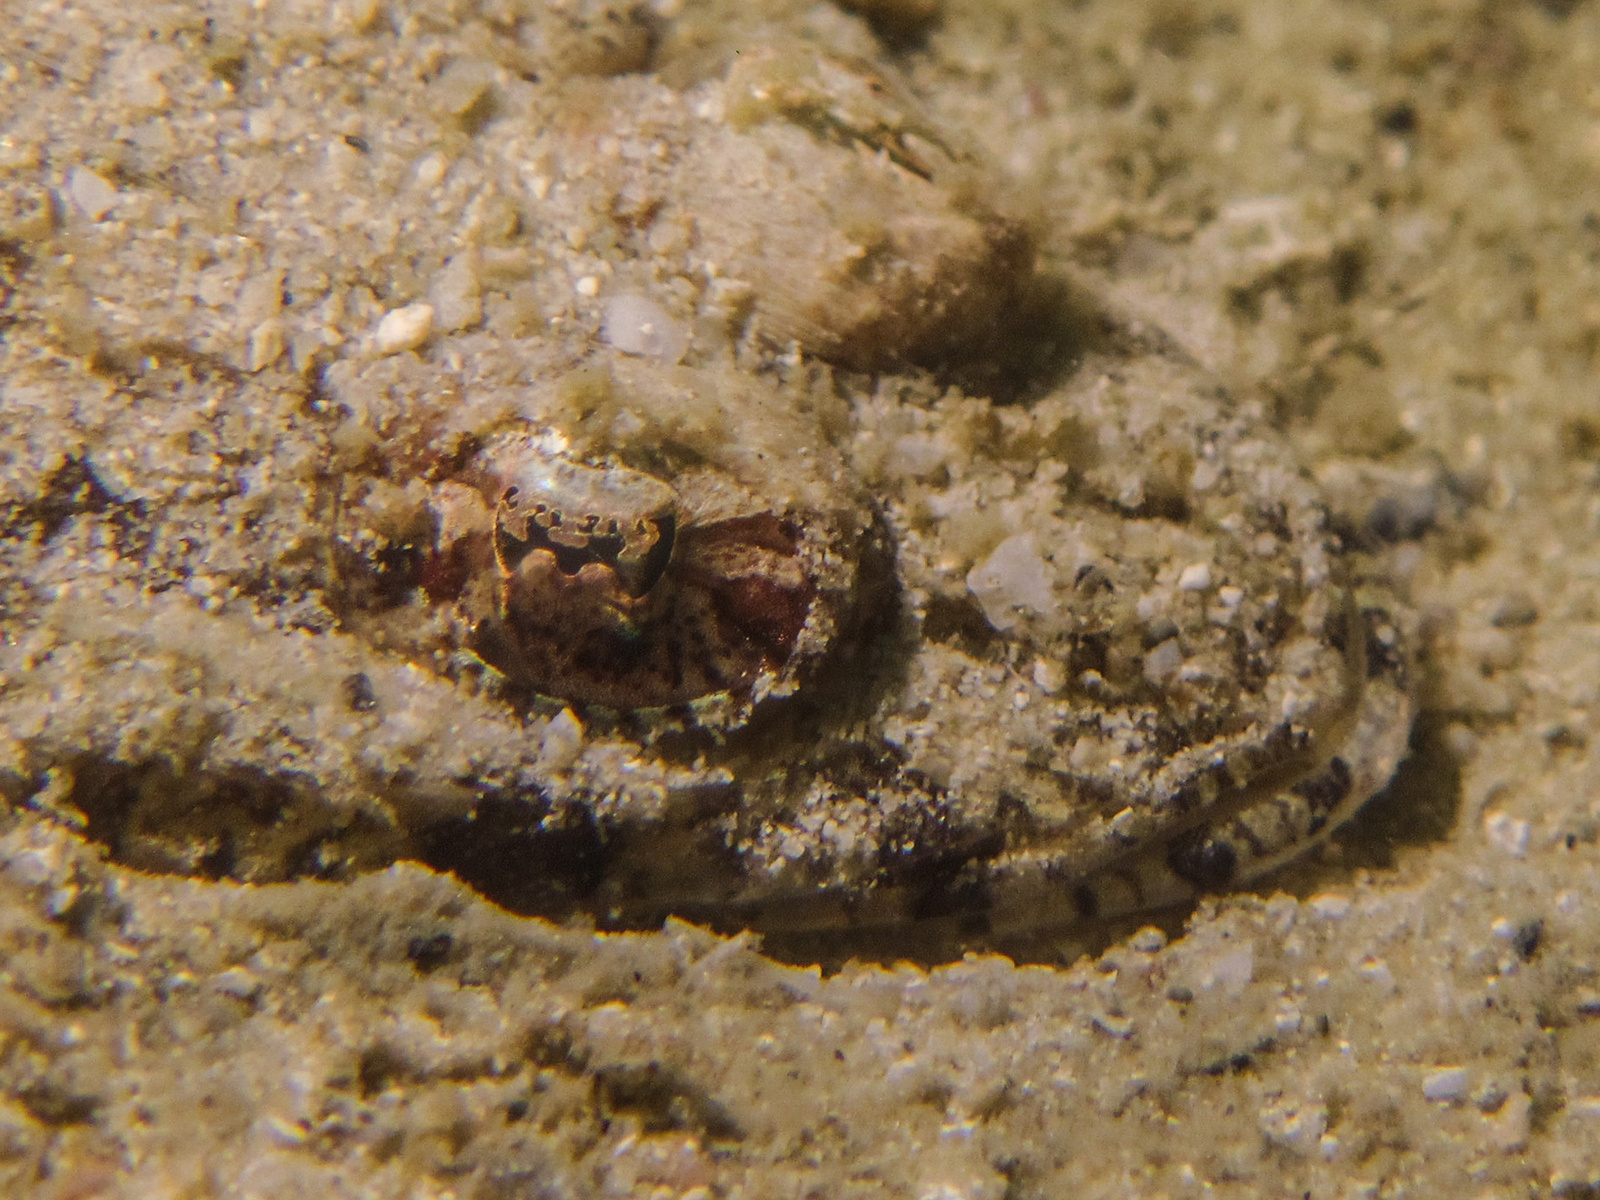
Here a gallery of pictures taken with this DIY macro lens


Summary of the video
1) How to choose your LENS
• 2 magnifying glasses (10cm diameter worked fine for me)
• test actual magnification ratio – larger size not always means higher magnification
• glass lenses better than plastic or acrylic lenses
• plastic frames better than metal frames (corrosion)
2) Test your lenses and MACRO SETTINGS
• distance between camera and magnifying glass irrelevant (lens can be placed right onto the housing)
• 2 lenses together: distance between object and lens is fixed (around 5 inches/ 12 cm)
• distance between 2 lenses irrelevant (lenses can be placed right onto one another)
• camera macro settings: short distance to object only possible without zoom (wide angle effect) | zoom applied will result in blur and one needs to back the camera away from the object | the more zoom applied, the longer the distance has to be to the object | the size of the object within the frame will always be the same, only the depth of field in the background changes
• with double lens in front of camera: – increased magnification from the 2 lenses; – optical zoom may be brought forward all the way; – distance to object: 5 inches/ 12 cm
• magnification under water less than in air
• air space between the two lenses will increase the magnification ratio under water
• the two magnifying glasses would need to be connected to keep water from entering the in-between space
• the two lenses would need a spacer which absorbs the pressure at depth to keep the lenses from imploding out of their plastic frames
3) Constructing an air-tight and pressure-proof DOUBLE LENS
• use PVC pipe just slightly smaller than the lens frame diameter and cut off a ring to be placed in between the two lenses
• the ring needs to keep the two lenses apart by 1-2mm
• clean lenses before assembly
• use epoxy putty to bond the PVC ring between the lenses and to seal off the small gap between the two lens frames
• add silicone on the inside of the frames and apply a thin coat around the hardened epoxy putty
4) Add a proper HOUSING
• PVC pipe connector just slightly larger in diameter than the double lens component
• leave about 1/2 inch or 12mm pipe material on the forward side of the lens for protection
• cut the other side of the PVC pipe connector flush to the depth of the double lens or leave it longer to be used for connecting the lens to your housing
• add a flat ring of plastic to keep the double lens from sliding out forward
• use strip of foam mat or other material to keep lens component snug in the PVC pipe housing
• optionally: add black foam mat material on the PVC pipe outside to give better grip and make it look better
5) Building a camera housing ATTACHMENT
• cut a frame from a thick foam mat with the lens diameter on the outside and the shape of the camera’s lens barrel on the inside
• attach with bungee cord and small hooks or whatever your camera housing accommodates
Read on and you ll be making photos of all the miniature stuff in your life as fast as you can flip a lens!